Friday, April 27, 2012

Authentique Paper: Beautifying Simple Gifts

For the past few Mother's Days, I've made things for my lovely mother and mother-in-law. This year has been a little busier than most, and I think I'm going to take a breather and choose a slightly easier path... Gift cards! There is only one problem, gift card envelopes are kind of ugly. So I found a few PDF's and SVG cuts for the following cards.

These three were the easiest things to make! I simply followed this tutorial (and PDF) to create them. They were so easy! I actually preferred these to the ones that I cut with my electronic die cut machine. It was really nice to be able to use scissors and achieve something so pretty!

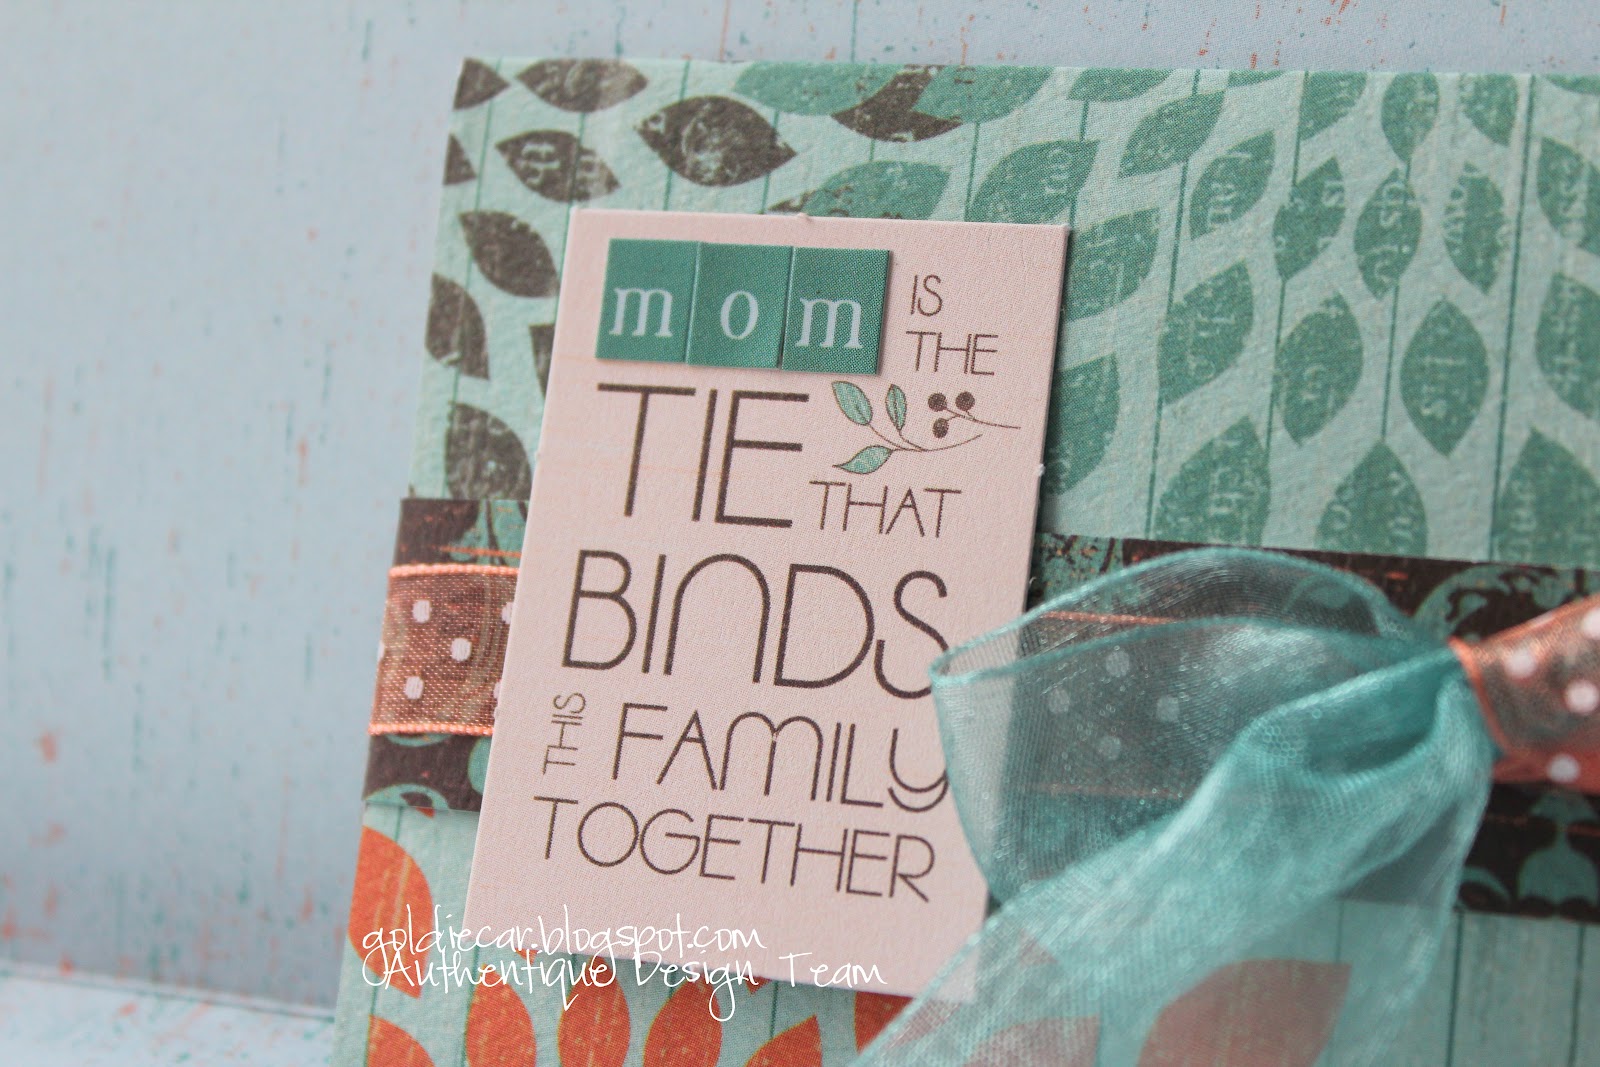
Here is an open card with a card in it so that you can see what the finished product looks like.
 
This cute little box which is the perfect size for a gift card was created using this template. It's really nice that there is an option for both a PDF and a SVG version. I cut this, then just messed with a generic heart shape to layer on the top of the closure. It's not perfect, but it's really cute.
This was just a super simple folded paper that I used my X-Acto to cut little holder marks to hold the card. I simply used a gift card holder that I had been given as my template.
A few things I figured out while making these:
  • If you want to use the PDF template, you can use a light holding adhesive to temporarily attach the tracing sections to the paper so that it stays still (Authentique paper is great for this, as it's so thick!) I used my ATG, then my hand to "unstickify" the glue a little bit.
  • It is really easy to wrap neat ribbons around a simple gift card holder to make it more special. 
  • I found that if my ribbon was wrinkled, my flat iron worked really well to smooth it out. I used the lowest setting possible.
I hope that you have fun making even the simplest of gifts just a little more special! Happy Mother's Day!

Authentique Paper Products: "Gathering": Tabloids, Icons, Foundations, Bloom, Harmony, Flourish, Grow, Reminisce, Classic Type, Petite Type
May Arts Products: All ribbon products by May Arts
Other Supplies: Colorbox Chalk Ink, dimensional adhesive, Basic Grey buttons and brads

Pin It

Tuesday, April 24, 2012

Cards That I Really Don't Want to Make...

There are times that I don't like making cards. When someone that I love dearly is not well is one of them. This cute little card is for such one lady. I hope it brings good prayers and love.
Pin It

Tuesday, April 17, 2012

Authentique: Maya Road Blog Hop: Birthday Banner

Authentique Paper and Maya Road are teaming up this week to bring you tons of inspiration using Authentique Paper and Maya Road products!


After you check out the inspiration here on the Authentique Paper blog today, be sure to head on over to the Maya Road blog to find out what the talented members of the Maya Road Design Team have created.
 *****

As soon as I saw the Maya Road Pendant Banner, I knew that I didn't want to make the standard mini album. I also have a cute little girl who is turning three in just a few months, and want to make sure that she has the cutest birthday ever. And as soon as I saw the wonderful things from Maya Road, I knew exactly the line I wanted to use... BLISSFUL!
I started by layering cute scalloped circles with even cuter doily shapes that I cut from my die cut machine. Each banner piece has been then layered with the cutest of decorations.
I loved the MR's little star Trinket pins. They went perfectly with the tiny little bee Icon.
Each of the letters are die cut as well, layered with both the adorable Still Sew Cute Chipboard Set, Love Hangers, and various Authentique die cuts. 
And the last little Banner is another layered piece of love. Instead of leaving the last little needle chipboard plain, I embossed it with silver embossing powder.
Keeping with the pink and yellow accents, I made sure to tie the yellows, and pop that pink that is scattered throughout Blissful with pearlized cardstock.
I cannot wait for her birthday!!
~Heather


Make sure you stop and visit us as well as our friends over at Maya Road each day this week, we've got prizes and lots of wonderful inspiration coming your way! Also, make sure you stop by the Maya Road Facebook Page and tell them that Authentique Paper sent you!

Authentique Paper Products: "Blissful": Tabloids, Icons, Noteables, Foundations, Felicity,  6x6 pad; Free Bird: Delight
Maya Road: Canvas Pendant Banner Album,  Still Sew Cute Chipboard SetLove Hangers Metal Vintage Trinket,  Crystal Star Trinket Pins, Leaf Trinket Pins
Other Supplies: Twinery Twine, AC Pearl cardstock, Bazzill Cardstock, Colorbox Chalk Ink, dimensional adhesive, ribbon, AC embossing powder Pin It

Saturday, April 7, 2012

AUTHENTIQUE: April's Sketch Challenges

Hello friends! I had so much fun playing with this month's sketch!! I even broke out the heavy hardware and used the Silhouette to create this fun honeycomb pattern. It really only used one sheet of paper. Instead of emptying the honeycombs, I flipped the paper and glued those down.
The little accents are from both the Miracle line and the Delightful lines. I love those new cardstock stickers.
I even layered the banners with both paper and the Elements stickers!
A detail of that great honeycomb pattern. It's not cheating if I purposefully chose the octagons with the most flowers, right?!
And the butterflies are all double layered, so that they actually stick up!
If you want to play... Here are the sketches! Post them to the Authentique Facebook page, and make sure to this blog post.

April's Authentique sketches:
Layout
Card
Pin It

Friday, April 6, 2012

AUTHENTIQUE PAPER: Papered Easter Eggs

I cannot take credit for the inspiration of today's post. It all belongs to my daughter. One of my favorite stores had these cute little eggs at my two year old's level, and she was super excited for Easter and the Easter bunny. Each of these started as a plain wooden egg, and are all decorated in different ways.
For the first egg, I used a hole punch to punch out an entire sheet of the 6x6" Delightful paper in Sweet. Before I used ModPodge to stick all of those little spots onto the top of the egg, I ModPodged the bottom of the egg and used gold embossing powder to cover lower half. To make it stick, I used my heat gun to fully emboss the bottom. Then stuck all of the little circles on the top. Added a few flowers in Elegant, and a matching green ribbon.
For this egg, the entire egg is covered in circles. I used a 1" circle punch, but to get each circle to stick to the egg, cut a slit in them so they curved. The bottom half is Cheerful, and the top is the opposite lovely yellow color of the same 6x6" paper. Rather than a ribbon, I used glitter tape and a cute little butterfly in the Elegant paper.
This egg is probably my favorite. It's actually fuzzy!! I ModPodged some pink flocking to the top of the egg. Then used a border punch to punch strips of 6x6" Beautiful paper. I cut those down to 1.5", then layered them around the bottom of the egg. A simple white ribbon finished this one off.
These are going to make cute additions to the Easter table this year. And when Easter is done, my little girl has already claimed them for her own.

Supplies Used: Delightful Collection: 6x6 pad 
Additional Supplies: 1" punch, flower punch, Martha Stewart border punch & butterfly punch, ModPodge, floral ribbon, Hampton Arts flocking powder, AC Zing embossing powder & Glitter Tape
Pin It