Showing posts with label mini book. Show all posts

Monday, November 27, 2017

AUTHENTIQUE PAPER: Remember December Mini Album

I would like to say that I always finish every project, but that is not always possible when the holidays are right around the corner. To make the completion of my Colorful Christmas December Mini Album a reality, I decided to prep a few things early to make it a little easier to create during the upcoming busy season.

To start, I grabbed a container to keep everything in. This is an Ikea basket, but others are just as fantastic. Then I just started grabbing things from my stash. I have had some of these items for years!
I pulled stamps, washi tape, alphas, ribbons, wood pieces, enamel dots, and other fun embellishments to add to my mini as I go.
 The Colorful Christmas 6x6 Bundle is perfectly sized for projects like this.
I then grabbed my foundation pages. I bought a few of these foundation pages from a sale awhile back. The days would have been wrong, so I printed new day names on sticker paper and cut them out with scissors. Once I create each page, I'll either hand write, or type using my manual typewriter.
 Having each of the patterned papers pre-cut will save time when I start creating next month.
All I need to add is a stamp pad and a few colored pencils. Any leftovers could easily be turned into a couple of Christmas cards.
I found this cute album on sale, and gussied it up with a little punched reindeer edge, and a journaling card.
 Adding a little faux stitching makes this more personalized.
 Because I know that the first part of the month will be hectic, I created a few Colorful Christmas foundation pages to start.
 I wanted something for the inside cover, so used my Silhouette (#111484) to cut a large tree, and added a Details sticker and an enamel star. The "Story" page will have some of my hopes for the Christmas season, possibly a wishlist of fun events.
 The next three pages are to be used with the foundation pages. Each will sit on the larger squared section, with the journaling or messages below them.
Hopefully this inspires you to gather all of your supplies just a tad bit early for some fun December Mini Album making. A little preparation now, will make the project easier to complete.
Other Supplies Used: alphas (Thickers, chipboard and alpha stickers), various washi tapes, Twinery twine (Blossom, Cappuccino, Maraschino), ribbons, buttons, enamel dots & shapes, stamps (Lawn Fawn Milk & Cookies, Essentials by Ellen - Light Parade), mini album & inserts, Silhouette Online Store & Cameo
Pin It

Friday, April 11, 2014

AUTHENTIQUE BLOG: Making Amazing (& Elegant!) Mini's!!

I got to use some amazing Top Dog Dies this week and the beautiful Classique: Elegant Collection from Authentique Paper. Check it out on today's blog post!!

Pin It

Wednesday, January 29, 2014

AUTHENTIQUE: Leaky Shed Chipboard!!

Hello! Today's post over at Authentique Paper uses some amazing chipboard by Leaky Shed Studios! This is a cute mini book that I created using Leaky Shed's Camera Scrapbook Album. The great part of this mini, is that all of the sections are separate, so that it is really easy to cover with various papers and then glue down to create some amazing dimension.
For the cover of this mini, I started with Expedition, then covered the middle sections with Touring. Lastly, I used the amazingly inky black paper from the back of the Voyage. I love how black that paper is. The large sticker is from the Details sheet and Elements stickers for the letters. I just love that this mini reminds me of the boat pictures inside by using the May Arts Cord to make it look like a life ring. 
My second project is a sweet Valentine heart decor. I found a paper heart, painted it with acrylic paints, then added pieces from the Smitten Collection (Promise and Components papers) along with Leaky Shed's fantastic Watch Parts.
I really liked how the gears look like they are making the heart run.

Supplies Used:
Authentique Paper: Abroad Collection: Expedition, Touring, Voyage, Details, Elements; Smitten Collection: Promise, Components
Leaky Shed Studio: Camera Scrapbook Album, Watch Parts
Other Supplies: paper heart, acrylic paint, Xyron High Tack Adhesive Dots, Xyron Maya Road Trinket Pins, May Arts Ribbons and Cording Pin It

Tuesday, October 29, 2013

Blog Swap Week with Xyron + Maya Road!!

http://aintshecrafty.blogspot.com/2013/10/xyron-and-maya-road-day-two-and-giveaway.html
Good Morning Xyron and Maya Road fans!! Heather here with two wonderful projects for you.I am also being featured on the Xyron Blog today. Make sure you check out each day this week for fun and prizes!!

The first project that I created, was a sweet little ornament using one of the Maya Road Vintage Metal Heart Tins.
I started by tracing the Maya Road Vintage Metal Heart Tin onto my paper. To make sure that the heart fit, I had to cut down the heart just a little bit smaller than the area that was fluted. The Joyous Collection by Authentique was the perfect version of Christmas for this ornament.
I then used my Xyron 3" Sticker Maker to adhere the heart to the tin. The 3" Sticker Maker is just the perfect size for this!
I waited to create a hole for the cording until I glued in the heart down. This way, I didn't have to match anything up. Because of the metal, I used my Crop-o-Dile for this.
I then created some interest with a few stickers and some Xyron Foam Squares. It was then that I decided to ink the edges of everything. I had inked the stickers, but had to use an ImagineCrafts Fantastix ink applicator to smudge some ink onto the red heart.
I then added one of the Statements die cut pieces, using more of the Foam Squares to add dimension.
Lastly, I used the gorgeous Maya Road Twine Cording in Cherry Red to create a hanger for the ornament, and create a gorgeous bow for the top. The Maya Road Cording makes gorgeous bows.
I cannot wait to display this on my Christmas tree!!
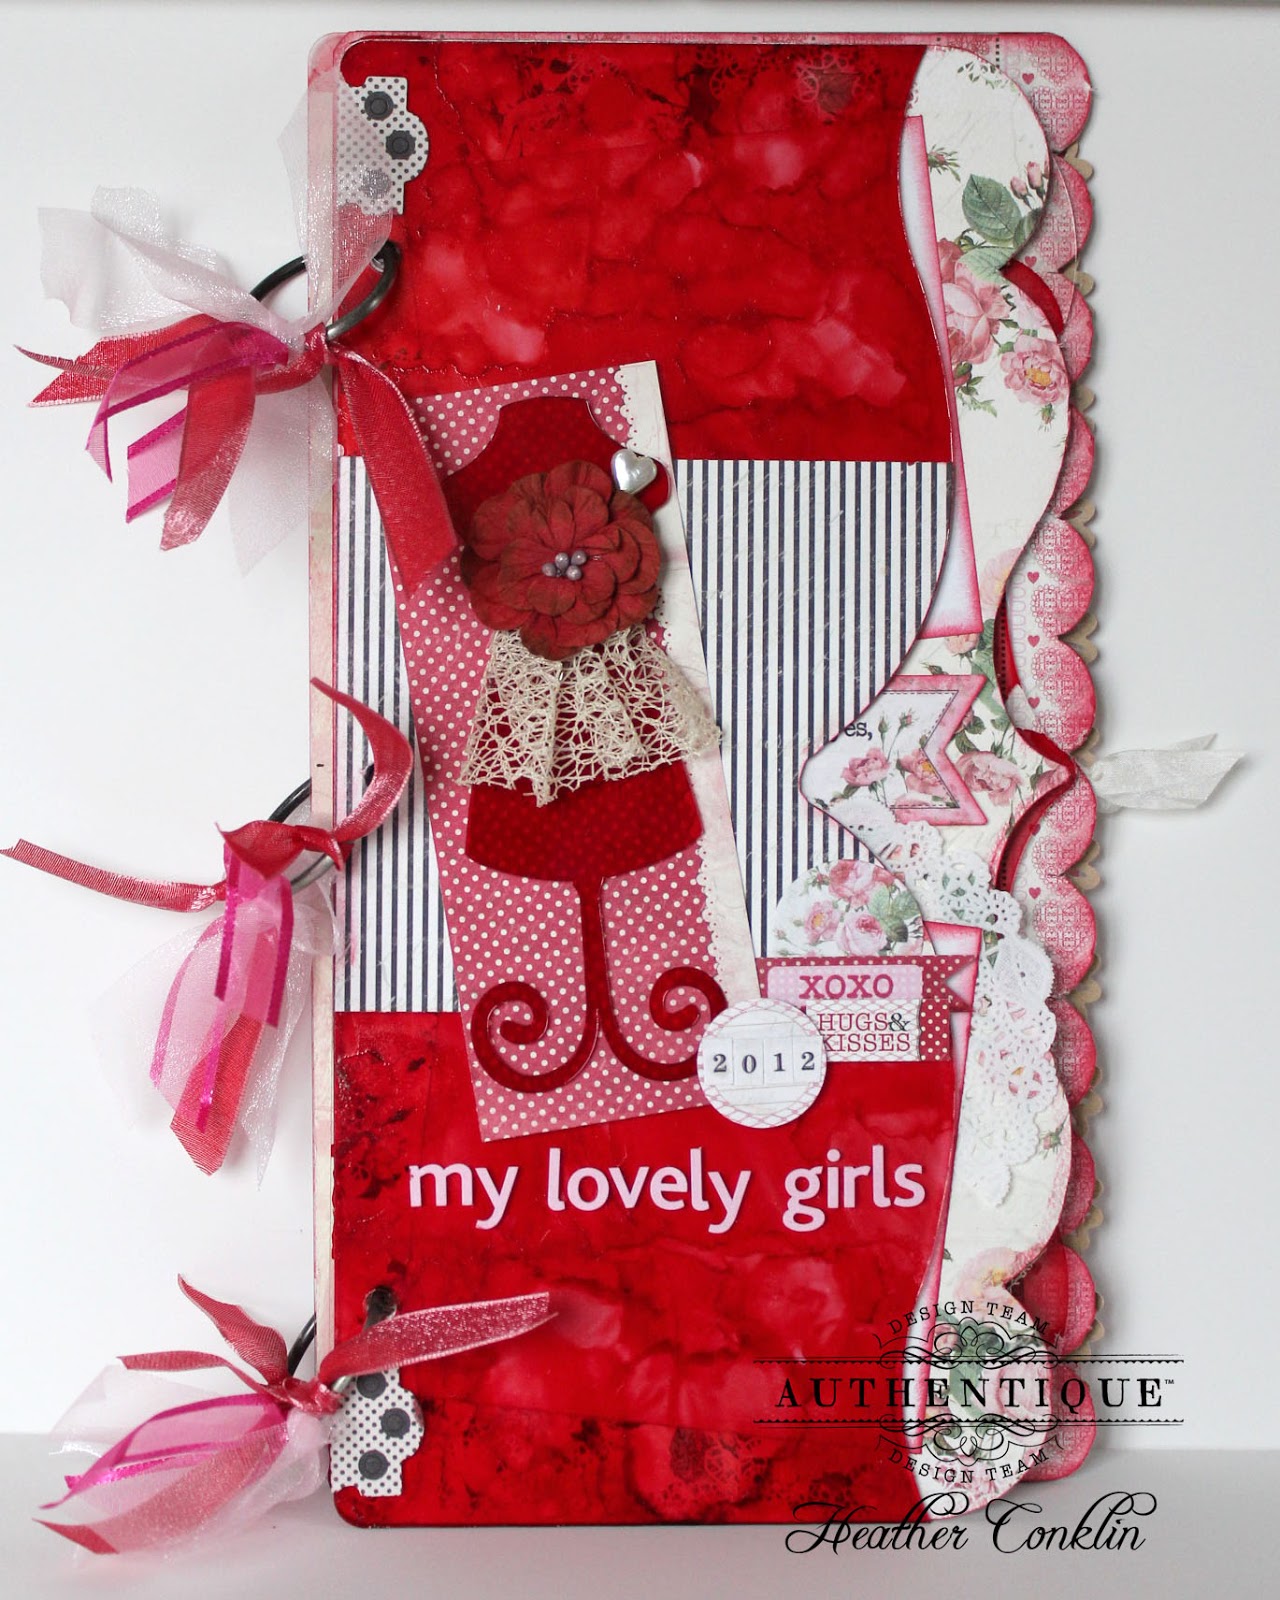
For my second project, I started with the Maya Road 5 Ring Tab Book and more of the Joyous Collection. Each of the pages has been run through my Xyron 9" Creative Station. I then applied the patterned paper, then cut with a kraft knife, and filed off the edges using a nail file for acrylic nails (they last longer and are usually cheaper). The cover is finished with a Maya Road Photo Frame that has been run through the Xyron 3" Sticker Maker. The middle of the Photo Frame was sprayed with gold mist before adding some die cuts.
All of the pages are simple, as they will have photographs added later. Because of the amazing amount of pages in the Mini Book, I wanted to keep the dimension simple. Otherwise, I ran the risk of not being able to close it.

I cut each of the photo mats down to 3.5" x 5.5". This way, I can just slightly cut down standard sized photographs and easily use my Xyron Mega Runner to post in some sweet Christmas memories.
 I love how clean and graphic this ended up.

Supplies Used:
Xyron: 9" Creative Station, 3" Sticker Maker, Mega Runner, Foam Squares
Maya Road: Vintage Metal Heart Tart Tins, 5 Ring Tab Book, Twine Cording (Cherry Red), Photo Frames Chipboard Set

Other Supplies: Authentique's Joyous Collection, Distress Ink (Black Soot), ImagineCrafts Fantastix, Heidi Swapp Gold Lame Color Shine Pin It

Friday, September 13, 2013

Authentique Natural Collection Mini Album

Make sure that you head over to the Authentique Blog today for the Scor-Pal/Authentique Blog Hop! Today my neat envelope mini is being featured alongside John's flag mini!! I have included directions for both the envelopes and the mini on the blog.
I used the amazingly beautiful Natural Collection for this project, and am sad to see that I only have scraps leftover now. It's just too pretty!! Pin It

Friday, December 21, 2012

A Lovely Mini: AUTHENTIQUE PAPER

Come check out the fantastic mini that I made using Clear Scraps and Lovely papers from Authentique!!

Pin It

Thursday, October 11, 2012

AUTHENTIQUE & Unity Stamp Company Blog Hop


Good Morning everyone! Welcome to the Authentique and Unity Stamp "Project Inspiration Blog Hop"! If you came from Shellye's blog over at The Papered Cottage, you're in the right spot. If you would like to start from the beginning at the Unity Stamp Blog.

In case you got lost along the way, here is the blog list.
Heather Conklin - http://goldiecar.blogspot.com/   <--------------------- YOU ARE HERE!

For today's project, I created something that I've been meaning to create now for three years, a "December Daily" mini album. I know that October is a little early to be making something for the holidays. Normally I am never so prepared, or early with most anything. It just so happens that we are going to be moving in the near future, so my scrappy area will be "mostly" packed up for awhile. I'm planning ahead. And with the gorgeous Christmas and Santa stamps that I had available to use, I couldn't resist!

See!! Isn't that Santa just adorable?!?! With my December Mini Album, I decided to sprinkle the stamps in various places, both in ink and embossing. I started with a Silhouette cut of "December" using last year's Wonder line and some cream cardstock. The cover was covered in Festive's Merry. I also used Details, some May Arts ribbon, a couple of button pearls, and a neat skeleton key that I found at the hardware store.
In each page, I combined both cardstock, Authentique papers, Authentique Details and Unity Stamps.
I loved embossing with the Unity Stamps. They made such clean images.
Doesn't the embossing look great on this one? I just loved how the snowflakes popped in black!
I even was able to use some more of the Wonder in a few pockets throughout the book. I really love how the older lines blend with the great new ones!
The Santa Claus was just too adorable!!
And a little pocket envelope for a letter to Santa.
I couldn't resist using the large quote stamp a few times.
And Christmas Day! I cannot wait to enter the photos for this day.
I really hope that you enjoyed seeing my Christmas Mini Album. Now that you've seen my work, please continue to Jen's blog over at The Buck Stamps Here. Have a great day, and make sure to comment on each blog as you go. Both Authentique and Unity have some lovely prizes!!

Authentique Collections: Festive Collection, Peaceful Collection, Wonder Collection, papers and Details
Unity Stamp Company: Velvet and Lace Flowers in Buttercream
Other Products: 3L Adhesives: Dimensional pop dots, Imagine Crafts Ink: Olive Grove, Pear Tart, Bamboo Leaves, VersaMark, May Arts Woven Burlap ribbon, hardware skeleton key, found pearl buttons, AC embossing powder, Echo Park brads, Basic Grey brad, kraft paper, Core'dinations cardstock, Bazzill cardstock, Hambly overlay, Cinch binding, Twinery twine, Jolee's stickers
Pin It