Friday, November 25, 2011

AUTHENIQUE PAPER: Putting a Bird on Free Bird

From the Authentique Blog:
 *****
Hello folks!! Heather here. I hope that all of your Thanksgiving feasts were wonderful, and that you were able to spend time with loved ones. Today for you, I have a nifty piece of decor that you too could whip up before the holidays! 

Samantha showed me a fantastic pin over at Pinterest, and I was inspired to use the Free Bird Series to craft something similar. I even drew a lovely little chickadee to place on it! 
I chose to use Warmth for the wreath, as I felt that it reminded me of all of winter. It does have some lovely colors and patterns.
I didn't have a little chickadee, so I actually drew one up using my scrapbooking pens and a little bit of chalk ink. Yup... the yellow is chalk ink!
The wreath itself is simply concentric circles of cones of paper. I just cut the Free Bird pages in half using decorative scissors, then trimmed off one of the 3" sides with decorative scissors as well. Roll the paper into cones, then attach the trimmed edge to the cone with a glue dot.
To attach the cones to the wreath, each cone is pinned in place, then hot glued. I haven't quite made up my mind whether or not I want to replace the drawing with a little faux bird or not yet. At the moment, I rather like him.
I hope that you enjoyed my take on a fun decor project. Just another way to use those fantastic Free Bird papers!! Have a great start to the holiday season!!

Supplies Used: 
Authentique Free Bird Series: Warmth FBS 129, 130, 131 & 132
Additional Supplies: wreath form, American Crafts Memory Markers in Charcoal and Black, AC ribbon, AC white cardstock, Colorbox Chalk ink in Yellow Cadmium, stick
Pin It

Monday, November 14, 2011

AUTHENTIQUE BLOG: Wooden Christmas Ornaments with Free Bird!

 *****
Hello Authentique fans, it's Heather! I have a really inexpensive idea for either a small decor item, or possibly a beautiful, and toddler-proof Christmas ornament. My little girl found this on an end-cap of one of the large chain craft stores. At first, she grabbed the more expensive birdhouse, but I was able to trade her for this smaller (and only $1!) one instead. She was happy throughout the rest of the shopping trip, and I wasn't out a lot of money.
While this step is completely optional, painting the pine birdhouse can tie all of the colors together. I chose black, and painted the inside as well. Since it was pine, the paint dries very quickly.
 
This is seriously the hardest step... Take a piece of copy paper, to figure out where the posts are. In this case, I was able to use an office hole puncher in order to slide the paper over the roosts. If you are using a larger birdhouse, you may want to cut the holes out with fine-point scissors.

I then grabbed my first piece of Free Bird ("Delight" FBS 111). Rather than measuring and cutting out, I was able to fit most of the pieces in without spending too much time measuring. In this case, the eave of the roof was 90 degrees, and I was able to use the corner of the paper as my angle. I then just creased the edges and cut them off so that the piece fit properly.
I had to use an X-Acto knife to slice the very bottom from the paper. Then, I felt for the holes in the birdhouse, and used the back of my X-Acto knife to slightly push in the edges of the entrances.
 
To cut the holes, I used a rotary nail file to "sand" them off. You could also use a wood file or even a thin nail file.
Mod-Podge the wood base, then the paper to make it all stick! I found out that the more Mod-Podge you use, the better it all sticks! Plus, it dries clear... So even if it looks like it's all weird... Wait a few hours. 
Repeat the same steps on the other sides of the birdhouse. I ended up using just one sheet of Free Bird for all of the sides! I then added a thin strip of a different paper ("Delight" FBS 112) for the bottom edge of the birdhouse. Rather than piece the paper, I diagonally cut a strip from corner to corner. I punched only part of a hole in the top, so that the roost would fit around the edge. Then, Mod-Podge'd it all down.

For the roof, I used half of a piece of "Delight" FBS 109. One side of the roof was simple, and just needed an edge punch to add some extra dimension to the roof. The other side needed to have some of the roof notched in with a hole punch so that it fit the rope. I just played with the amount I cut out until it fit right.
For the last detail, I added small strips of the same paper (FBS 109) to the front and back of the roof eaves.
When you have finished with your decoration, Mod-Podge the entire thing once more. Let it dry completely for a few hours.

I haven't shown this to my little toddler yet, but I know that she is going to love it. Best part, the total bill on this project (if you already have Mod-Podge and paint) is under $3!! Even if it doesn't last toddler hands... I can make another one for just a few dollars! Pin It

Saturday, November 12, 2011

Authentique and Twinery Blog Hop!!!

HELLO AUTHENTIQUE AND TWINERY HOPPERS!!

If you came here from Hera Frei's site, you are in the right spot! If you just started here, make sure that you start at the beginning with Authentique Paper, to enjoy all of the fun!!

Authentique Paper 
Tifany DeGough
Julie Ranae Murray
Natalie Dever
Stephanie Johnson
Emily Lanham
Hera Frei
Heather Conklin  <-----YOU ARE HERE
Deena Neimat
Janeen Shember
Ivona Foster
The Twinery

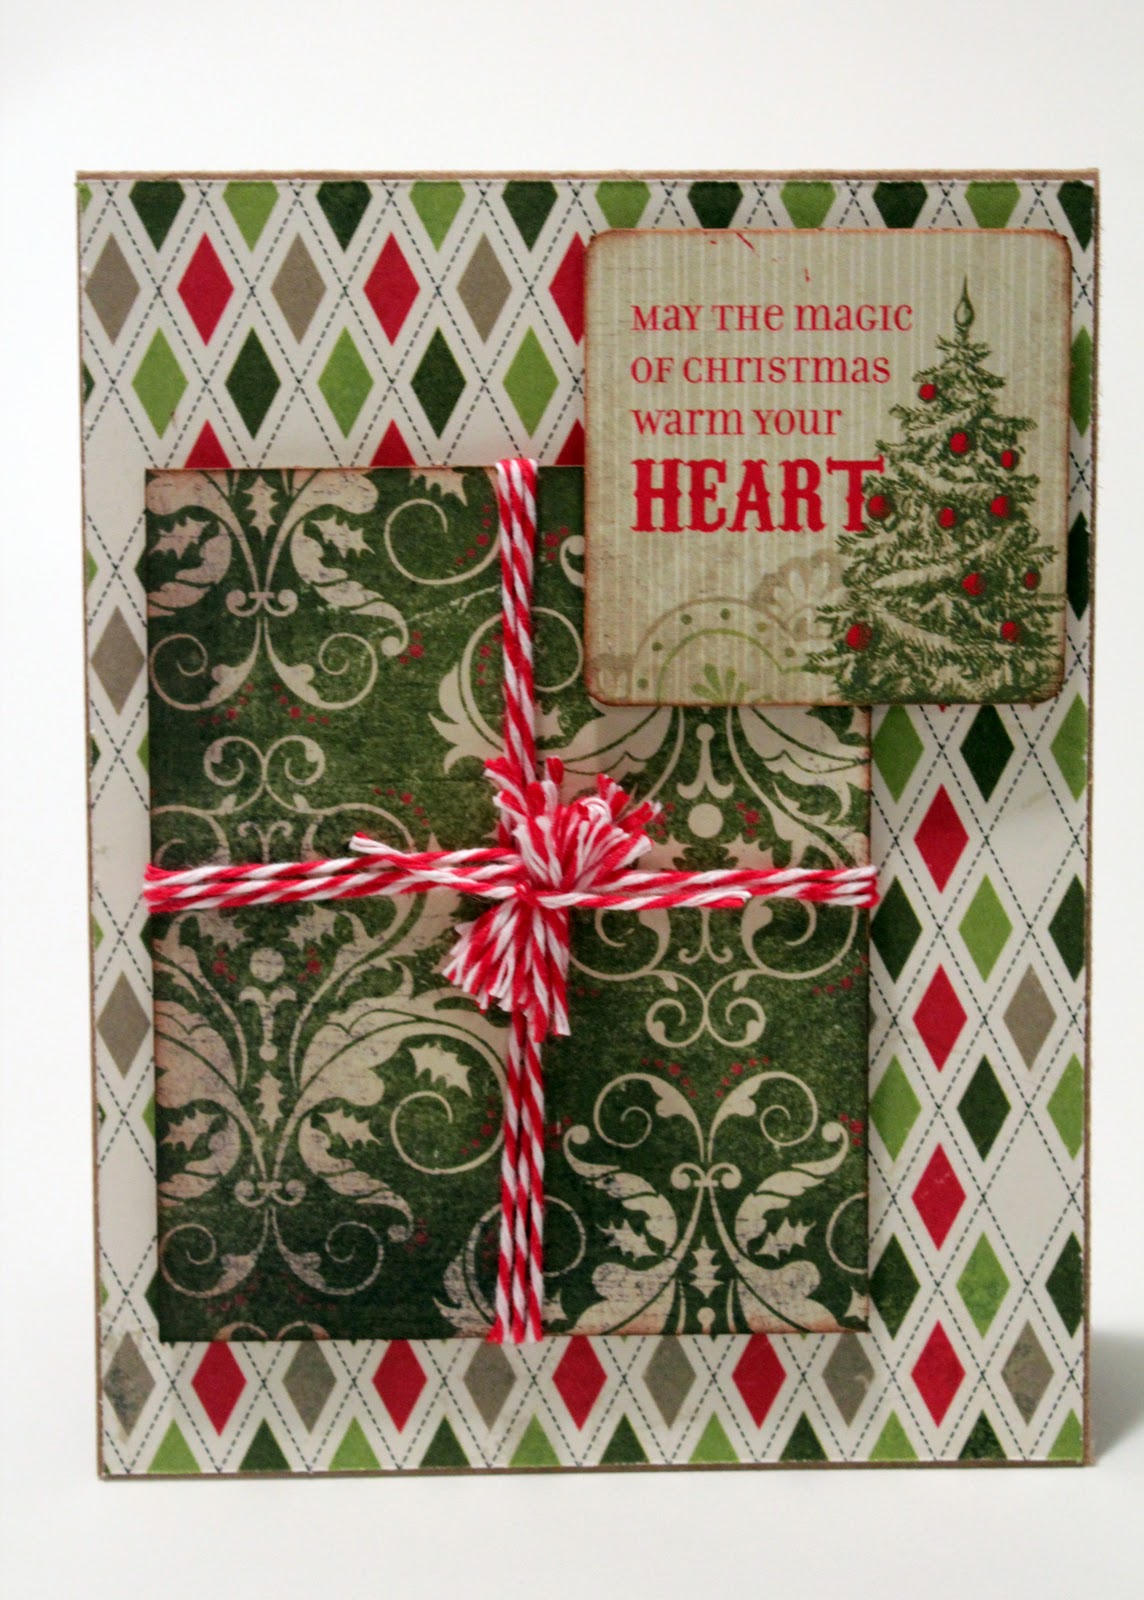
For my first two cards, I kept a Christmas theme! On the first one, I decided to keep a simple wrapped present as my main theme. I just love how the Twinery twine can transform anything very simply.
 
For the second card, I decided to use various colors of twine in different ways. I love how I was able to braid the twine, so that I could add a cute scarf to the snowman. I then stitched the tree decorations, and tied little bows for each present.
For the last card, I used my new favorite Authentique line... GATHERING! I used my diecut machine to cut out a heart, and then placed a smaller heart in the center, tying twine around the smaller heart. This is a really simple card, but I really like it. I added a little bit of chalk ink for detail, a Noteable message and a button.
I hope you enjoyed my cards today! Make sure that you continue the hop at Deena Neimat's website!! Have fun!

Supplies: 
AUTHENTIQUE patterned papers and supplies: Wonder-Awe, Anticipation, Petite Type Circle, and Icons; Gathering-Together & Flourish, Noteables
Other Supplies: Twinery twine in Maraschino, Charcoal, Buttercream, Lemondrop and Cappuccino, Colorbox Chalk Ink, button, Stickles
Pin It

Saturday, November 5, 2011

Handmade Holidays Blog Hop

Welcome to the Handmade Holidays Blog Hop!!!
Calling all crafters! We’ve gathered designers from some of our favorite manufacturers to show you ways to create something from the heart this holiday season. This 3 day Hop includes over 60 stops with inspiration brimming from every corner. Explore all thoughtful and frugal handmade gifts you could make for the holidays, all in one place on this Hop!

Each day we will be sharing a brand new list of blogs with brand new projects for you to explore, be inspired by, and create from!

The Blog List:

The Details:
To sweeten to Hop, we’re offering a gift for you! How does one of the 6x6 Bundles from EACH of Authentique Paper's current 7 collections sound?
{They'll even throw in a few other Authentique Paper goodies as well!}

Leave a comment on each blog along the hop to be be entered to win a prize pack from one of the participating manufacturer sponsors (including this great prize pack shown above)! The winners will be chosen randomly from all comments on the manufacturer blogs AND the designer blogs.
{Authentique Paper winner must have a US/Canada address.}

Blog comments close on Nov 7, 2011 at 11:59 PM {PST}.

The Project:
During a staff meeting, I was noticing how my co-workers' Moleskine notebook was in need of some decoration. While I will decorate her notebook at a later date... her notebook gave me some inspiration of my own.

For the first book, I thought about the traditions that I want to start with my little girl. She's two now, and is actually starting to understand how Christmas works. She's not completely afraid of Santa Claus, she loves to unwrap presents, and totally loves Christmas ornaments. I created her a "Dear Santa" book. Every year, she can write Santa a letter or two, draw some pictures, and rather than send each letter off by itself, we can send the book of to Santa, and have him return it the following year.
I covered the entire notebook with the Awe paper from Authentique's Wonder line. I then used part of the back of the Suprise paper to add the ruler and border. I added the Classic Type for the title, and Petite Type for Isla's name on the Icon die cut. Of course... I had to also include Twinery twine in Maraschino.
Isla's first entries:
 
*****
For the second book, I realized that for all my craftiness, my wish to create a December Daily is just not really going to happen. I would love to really set everything up, have it all done and created... But with all that is currently going on, this is a more realistic idea. Simply, a Christmas Memories book. This way, I can add memories, journal entries, photos, and other great information!
I used some more of the Surprise paper, along with a ton of Diction words in various Christmasy themes, a Classic Type title and Petite Type subtitle.
I also used a couple of brads, one for the title (Christmas), and one to act as a closure. Tie the twine (Charcoal) around the brad and the book is closed.
*****
The last book is for one of my lovely friends. Since she is Jewish, I decided not to use the Wonder line, but use the Journey line instead. The blues, silvers and creams made just the perfect Hanukkah journal. I kept the notebook simple, but it ends up being an effective look.
The title used the Classic Type, with a Wonder Diction "Happy". I also used a brad and Twinery twine in Stone to make the closure on this journal.
I'm really glad that I will get good use of two of them!! And I'm super excited to gift the last notebook to one of my dearest crafty friends.

Cheers to creating gifts from the heart this holiday season! Next up... Glue Arts!!

Happy Hopping! ~Heather

Supplies: 
AUTHENTIQUE patterned papers and supplies: Wonder-Awe, Suprise, Classic Type, Diction and Icons; Journey-Jaunt, Itinerary, and Classic Type
Other Supplies: Twinery twine, Colorbox Chalk Ink, Echo Park Brads, Moleskine journals, Signo white pen
Pin It

Friday, October 28, 2011

A Glowing Halloween and Beyond!

I already had something in mind when Kristy from Scrapbooksteals told me that she was asking for Authentique Design Team Members to showcase how they used Authentique's Glowing Collection (which is on SALE TODAY @ Scrapbooksteals!!!!! I already needed a birthday present for a family member, and she LOVES Halloween and her granddaughter. Creating a mini album using Glowing just seemed like a perfect solution.

For the cover, I used a few of the pieces (Music notes & Harlequin Patches) in various sizes, and edge punched the smaller piece. I then made a banner with strips of Foundations and Black Script paper, placed the Classic Type letters on the front. I added the year in Petit Type Square lettering.
In the inside of each of the pages, I used combinations of paper, Icons, Noteables and Tabloids.
On the first inner page, I used the diecuts with the Lace Spiderweb, Black Script & Foundations paper. On the second, Orange Brocade & Harlequin Patches with a Noteable.
For the second set of pages, I used Black Script for the larger piece (2nd page), and a combination of all of the papers for the first. I combined all of the diecuts as well. See how they are popped up with dimensional adhesive?? This way I can take some great photos and just stick them in the book before I hand it over.
For the last of the pages, I incorporated some of the Black Script, Black Gingham, Foundations and diecuts. On the second page, I used the Ledger, Cream Foundations and one of the Tabloids.
Here are some of the details in the book. I just loved using all of the diecuts to add more interest.
 *****
One of the most difficult thing about Halloween paper, is there is SO much cute paper, that can only really be used for one day in the year. With Authentique's Glowing Collection... This is not the case!!

When I saw the Geometric Fleur de Lis paper, I instantly thought of Thanksgiving. I don't know what it was about the design, but it made me think of the Thanksgiving table and placecards. I loved how the simple design wasn't overly "Halloweeny". I paired the patterned paper with various shades of brown cardstock, and it was perfect! Adding a woodgrain stamp, just solidified the Harvest theme and took away some of the Halloween elements.   
I stacked all of the pieces together, and used my Corner Chomper to diecut all of the edges. On each tablecard, there are five layers! Two pieces of brown cardstock, the Geometrical Fleur de Lis paper, Cream Foundations (that I woodgrain stamped) and a fussycut Fleur de Lis.

I also used the Petit Type Square letters to add a name to each of the cards. These will make the perfect addtion to my Thanksgiving table!
I challenge you to use up all of your Halloween papers this year!! Even for non-Halloween items!! Have a Glowing Halloween!
Pin It

Tuesday, October 25, 2011

AUTHENTIQUE: Have a Glowing Halloween!

From the AUTHENTIQUE BLOG...
*****
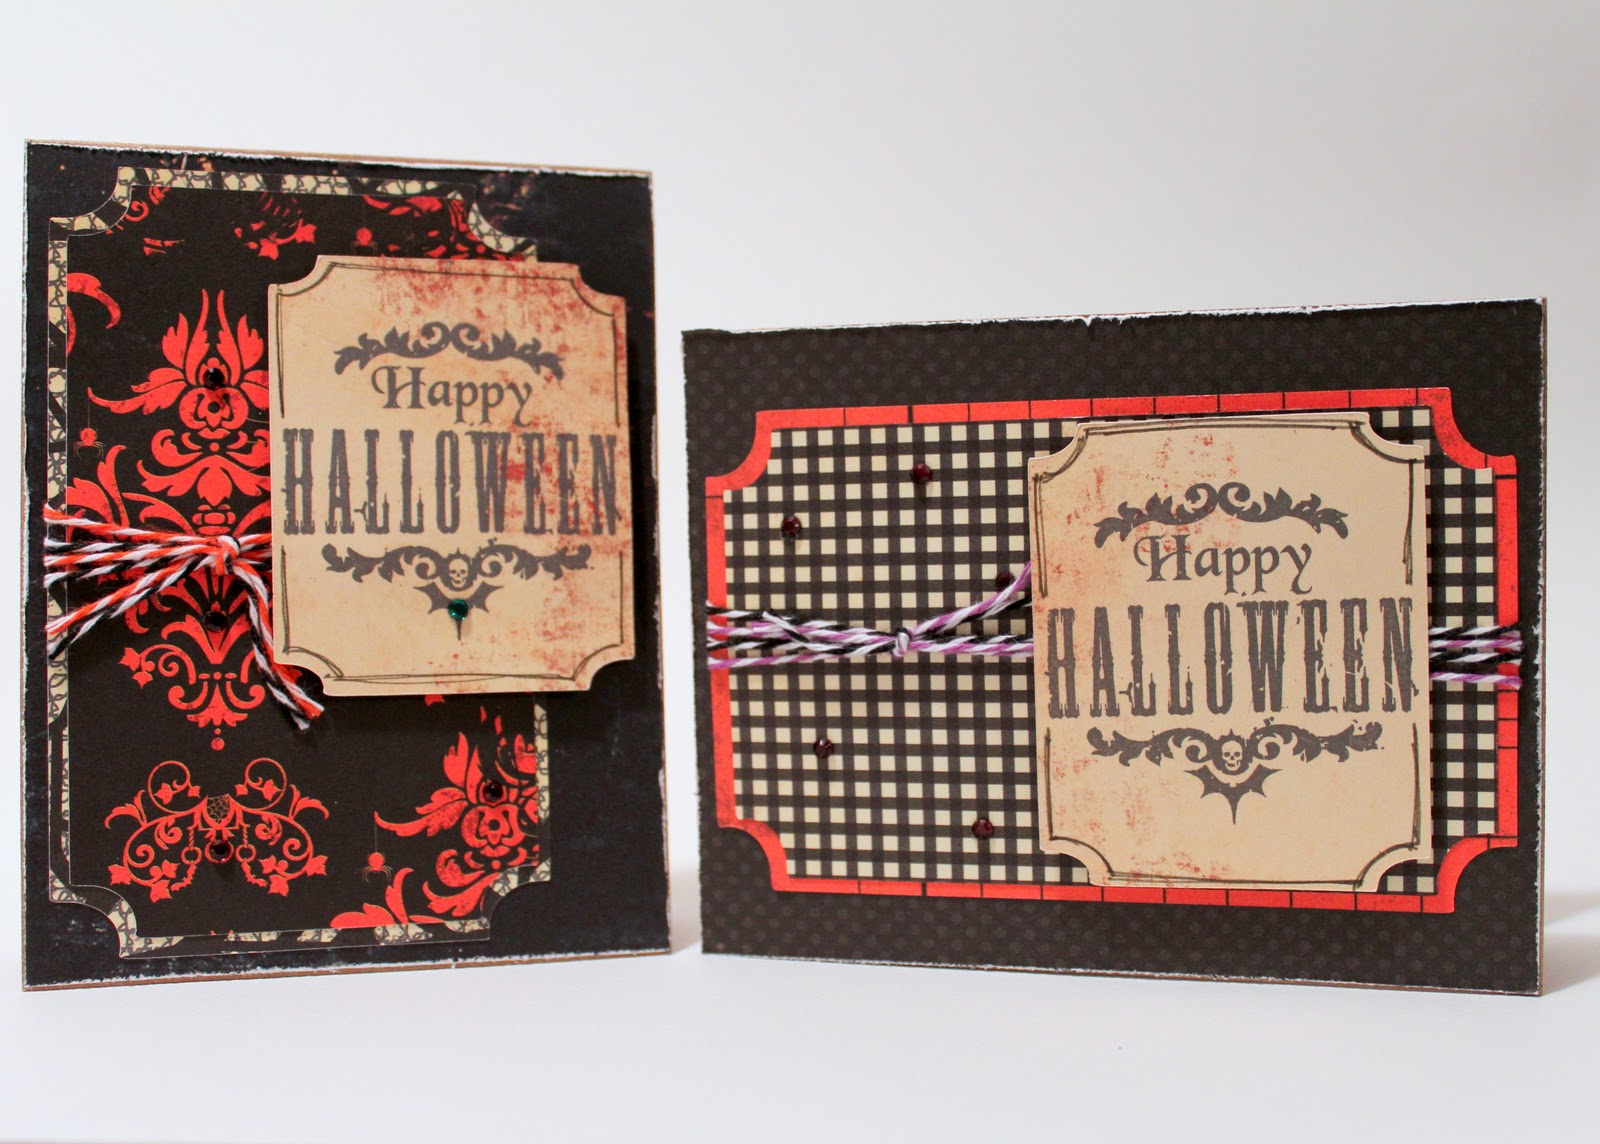
Hello Authentique fans! It's Heather with a card set, just in time for a Glowing Halloween! 

Each of these cards used pieces from the Glowing line. I used quite a bit of the Glowing Foundations, Lace Spiderweb, Ledge, Black Gingham, and Orange Brocade. 
I cut four of the same sized pieces of two papers for the base of the patterned sections, then layered them with four similarly cut papers in a smaller size. I used my Cricut for all of the diecut pieces, but you could also use a Corner Chomper and achieve the same results. I then swapped the papers for each card.
To make a little more interest with the stamped sentiment, I also diecut the paper for the stamp using the Foundations paper. I used a chalk ink and a pen outline to give the sentiment a little grungier look. Each card uses various combination's of Twinery twine, buttons, and gems
 

There aren't too many more days before Halloween, but there is definitely enough time to make a few Glowing cards of your own!


Card Supplies: 
AUTHENTIQUE patterned papers: Glowing-Foundations-Black Dot, Cream Solid & Solid Black, Lace Spiderweb, Ledge, Black Gingham, and Orange Brocade
Other Supplies: Basic Grey buttons, Inkadinkado stamp, Twinery twine, iRock gems, Colorbox Chalk Ink

Pin It

Friday, October 21, 2011

Having fun with Authentique's newer and older lines

I'm not ready yet to post all the fun that I had in Salt Lake City. Just not enough time. I will work on it this weekend, I promise!!

Instead, I have a few fun cards to share using Authentique, and a lovely layout using Authentique's new line, Gathering! I'm not scheduled for a blog post, but I thought I'd like to share...

These two cards are using the Journey collection. I thought they just made some really cute cards. I just used a base of a paper, and flipped it to use both patterns, added a gray cardstock base, then piled on Tabloids, Icons and Excerpts. I love the diecuts. Then a silver ribbon and Stickles to finish it off.
The Stickles are fun, even though I'm impatient and don't want to wait for them to dry.
I really liked this chevron paper. I originally made this card for a challenge that involved chevrons... But never look at the due date, so it was late. Who cares though, I got a really cute card out of my mistake. This uses the same recipe as the first card. Just different papers, and all of the diecuts. No Stickles however.
Somehow I got the bow just right. I love when the bows turn out!
*****
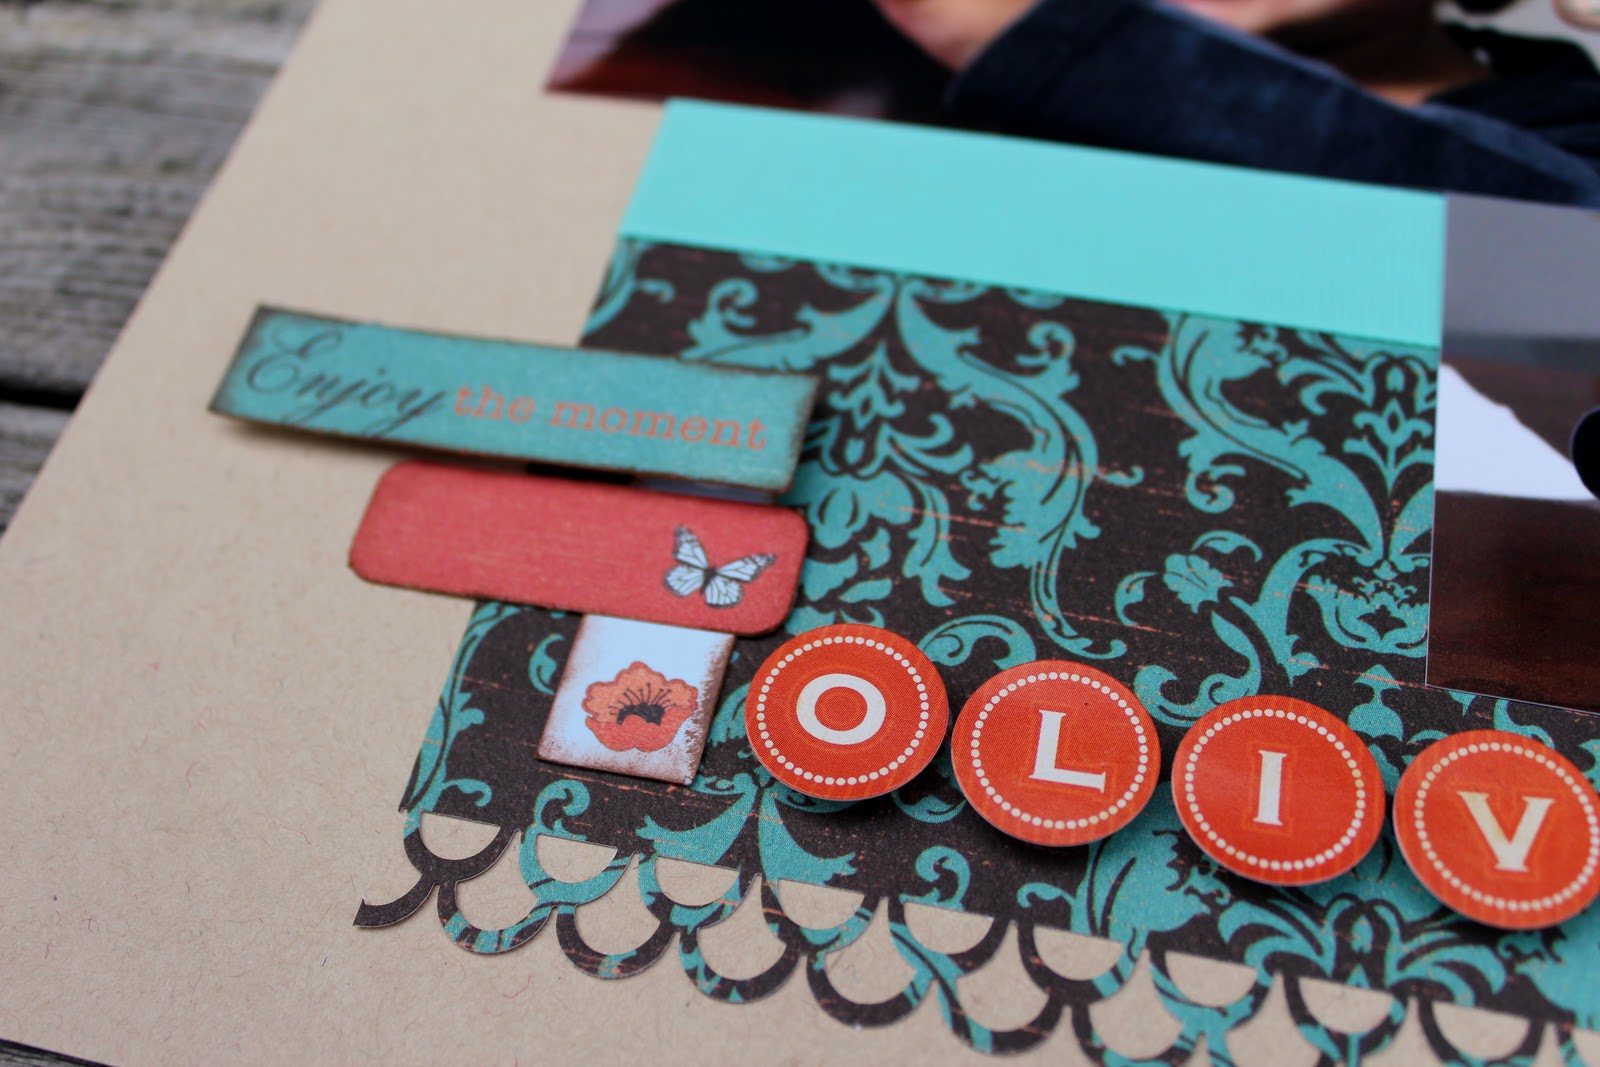
For my layout, I used Authentique's new line, Gathering. I was packing for my trip to SLC when Authentique sent this my way, and so wasn't able to play with it before I left... However, I was able to actually play with it at the Scrapbooksteal's crop!! Melodee from Authentique was there, with Samantha!! And showed us how to do a really cute paper bag mini album (more to come on this over the weekend!!) When I got home, I was in love with the line, and determined to do something with the poppies and damask. I do love damask!!
It may be a little hard to see, but the little monkey is eating olives. She would eat a can if I would let her. And I don't. Grandparents however (which is where we were)... Another story!
I loved stacking all of the small diecuts. And I don't normally like the circle alpha stickers (too hard to make straight), but these ones are really pretty. And I love the orange color.
I even stitched a few of the edges!! Thanks to Kristy, who told me to use orange, and my stash of Twinery twine in Mandarin. It was the perfect color, I just removed the white threads.
And, I fussy cut the poppy, and pop-dotted it to show some more interest. The things I do now because of the crop... Fussy cut and stitch!!!

If you get a chance to see Gathering, it really is lovely. Perfect for Fall photos!! Pin It