Wednesday, October 16, 2013

Crop Layouts: ScrapbookSteals Crop (September 2013)

I always feel that I don't create enough when I'm at a crop. Mainly I love to chat with my lovely friends who are there with me. This last ScrapbookSteals Crop was no exception. I did however get a few things done during the classes, and in true Heather style, didn't follow directions all that well.

The first layout is using Pebbles' From Me to You papers. The class used the Dark Kraft cards from American Crafts, as a card making course. I really liked the cards, but wasn't really in the mood for cards that morning. Instead, I created this fun layout using most of the patterns and pricing strips from the various papers. I really liked the grey from this set of papers. I also really liked this sheet of paper, and am looking forward to using the rest for a few cards.

The second layout used a page kit from Echo Park's Reflections Collection. I swapped the order of the layout that was presented, and added a few more details with the white pen.

For this layout, I'm not quite sure if I'm done with it so far. KC from My Mind's Eye challenged us to a few choices of layouts. One, we had to use Christmas papers in a non-Christmas way. And two, he gave us a few choices for our layout. Luckily, I had this adorable picture of my little Seahawks fans ready to scrap. The papers are all from The Winter Wonderland Collection. So is the twine. Which actually worked perfectly as they are pretty close to Seahawks colors. The alphas are Pink Paislee and October Afternoon from my stash, the stamp from Elle's Studio for Gossamer Blue.

Pin It

Monday, October 14, 2013

Stenciled Pillow Boxes using Xyron and Stencil Girl Products

Good Morning! I created this fun Thanksgiving pillow box using Xyron and Stencil Girl Products.

I started with a white sheet of Neenah paper, and covered it with Distress Ink in Frayed Burlap. I just pounced and swirled the ink over the paper so that it was mottled with color.
I then grabbed the "Flicks" Stencil Girl stencil and pounced Vintage Stain Distress Ink over and over again, covering the paper with random stencil prints.
There is no pattern to this, so that the pattern is completely random.
I did the same again in Tumbled Glass...
And in Broken China.
Once I had my new "patterned paper", I used one of my pillow box cuts from my Silhouette, and created a cute pillow box
Once it was glued shut, I measured and cut a piece of Core'dinations Kraft-Core cardstock and adhered it to the pillow box (while closed) using my Xyron 9" Creative Station.
I then cut a leaf using more of the Core'dinations Kraft-Core cardstock paper. I ran this and my stencil (the sandwich is upside down here...) through my Xyron 9" Creative Station.
See... Here it is the right way. This kind of worked. The adhesive stuck to the stencil, but not the leaf on top of it. To make it work the first time, I suggest burnishing the adhesive through each section of the stencil. I ended up turning the stencil over, and just pressing the holes of the stencil onto the leaf.
It's not perfect, but I almost like this look even better than what I had originally thought it would look like. I then sprinkled gold embossing powder on this and used my heat gun to set it.
Because I used adhesive and not an embossing ink, the powder stayed more solid, but is permanently stuck to the paper. (FYI: Goo Gone took most of the adhesive off of the stencil, without melting the plastic!)
I then used a combination of sequins, May Arts twine, button and a stamped flag to finish off the piece. The Xyron Adhesive Solutions 3/16" Dots are perfect for sticking down the sequins.
I'm kind of ink love with the finished version. The Stencil Girl stencil made such a unique design.


Supplies:
Xyron 9" Creative Station, Xyron Mega Runner, Xyron Adhesive Solutions 3/16" Dots, "Flicks" Stencil Girl stencil, Core'dinations Tim Holtz Kraft-Core Shattered 6x6, Distress Inks (Frayed Burlap, Vintage Photo, Broken China, Tumbled Glass), Lawn Fawn sequins, May Arts ribbon, My Mind's Eye button, A-Muse stamp, kraft paper, ink, American Crafts Zing embossing powder, Neenah cardstock in Solar White, Silhouette Pin It

Friday, October 11, 2013

AUTHENTIQUE PAPER: "Thrilling" Artful Binders with Art Anthology & Basically Bare

Have you checked out the Authentique blog today? I have a tutorial today that incorporates the Artful Binder from Basically Bare, Art Anthology inks and paints, The Crafter's Workshop, and Authentique Thrilling papers. And, I use my Xyron 9" Creative Station. (LOVE that thing!)
I'm in love with these stencils from The Crafter's Workshop. The binder was really fun to make, and looks amazing. You really have to take a look. Pin It

Wednesday, October 9, 2013

AND We Have a Winner!!!

It's been an odd week for getting things done right this week. I'm not sure what's up, but I'm not liking it. Maybe I need to get back to my list-making. I love crossing things off.

Anyway.... We have a winner!

#38!! Darlene Whalley from My Tattooed Paper Heart
Darlene, I will try to get hold of you to send off your prize!! Pin It

Tuesday, October 8, 2013

Xyron and Doodlebug Help Celebrate Fall!

I am loving the fall weather. Fall in the Pacific Northwest is usually gorgeous, but this year has been all about rain and thunderstorms. I kind of love it. It was on one of these very days that we took a ferry ride that this adorable photo was taken. I love my little monkeys, and they normally aren't this sweet with one another.

For this layout, I really wanted to play off of the aqua skirt that my oldest was wearing. I used the Happy Harvest Plentiful paper in the background, and die cut a piece of Happy Harvest Sunflowers to base the layout from. I'm a sucker for woodgrain of any kind, and the Happy Harvest Sunflowers paper is a beautiful red.
I used kraft paper to give the photo a little bit of a natural border, then popped that against the opposite side of the Happy Harvest Plentiful paper. The 
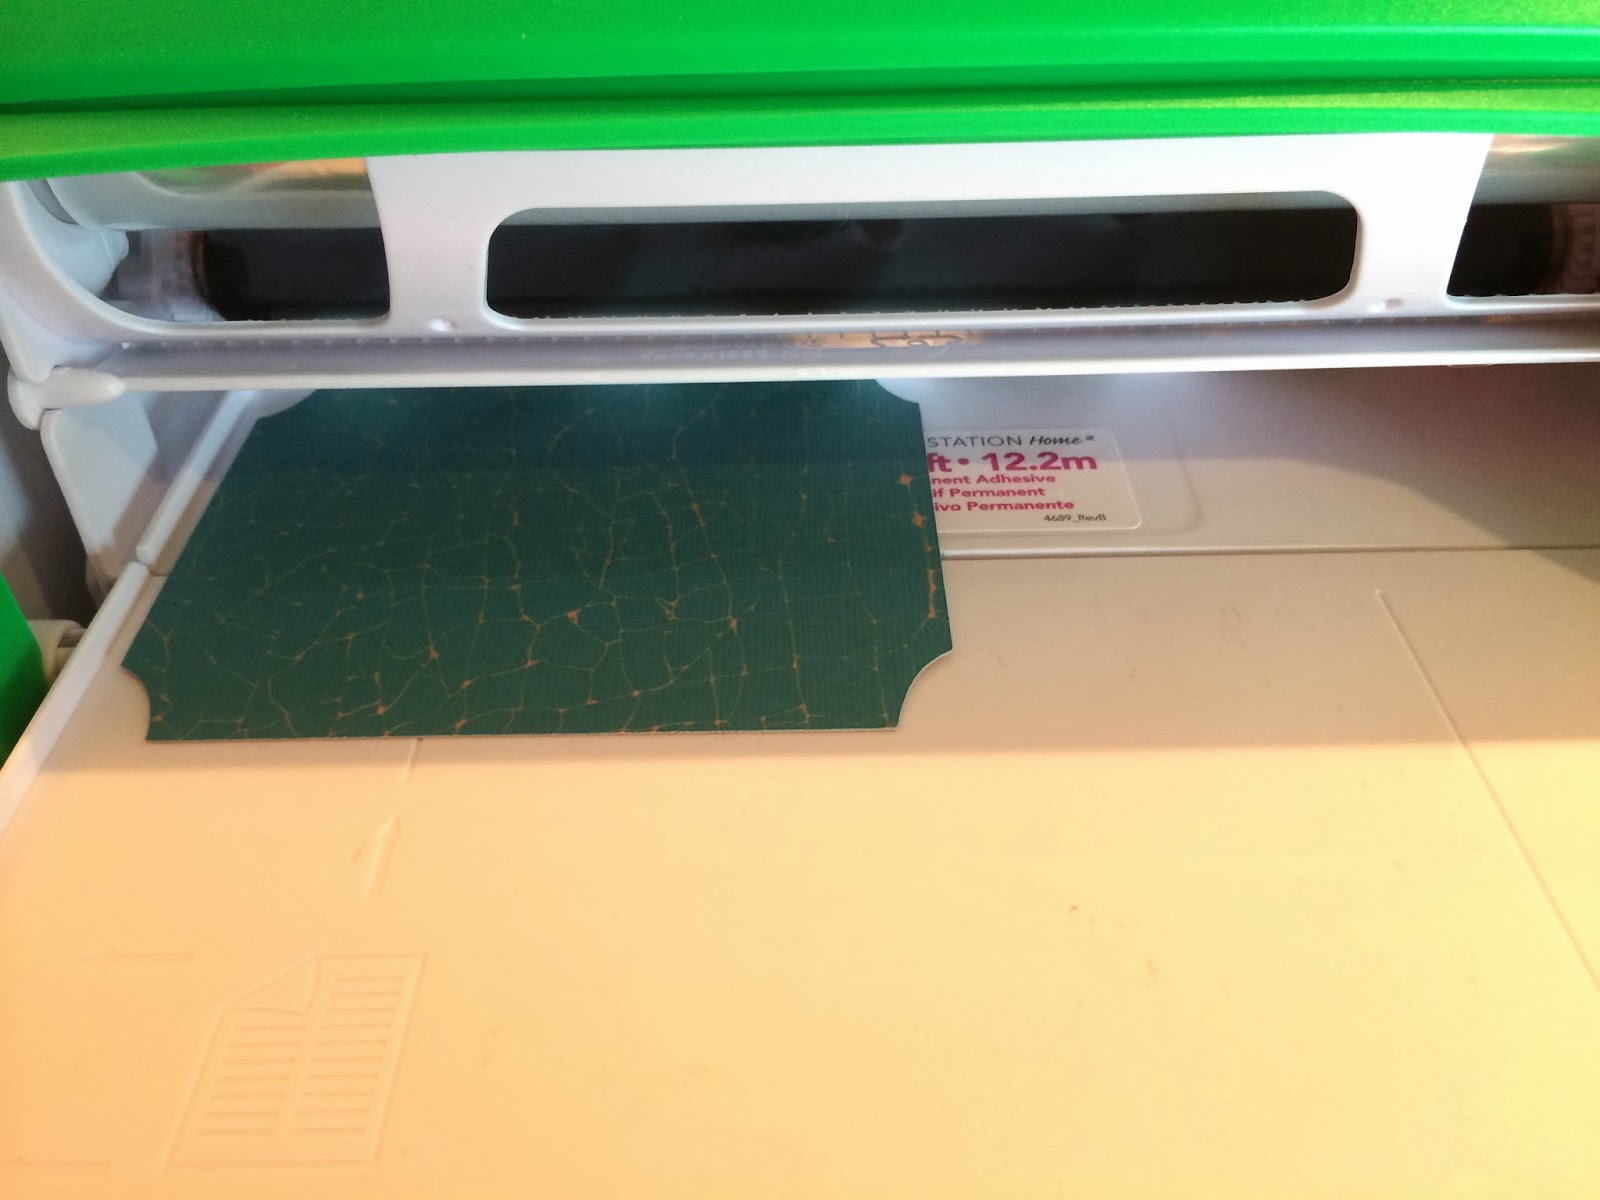
journaling was created by running two die cut pieces of kraft and Happy Harvest Autumn Leaves through my Xyron 9" Creative Station and using a Signo Uniball pen for the journalling.
A sweet banner made from pieces of the Happy Harvest Fancy Frills stickers and Happy Harvest Doodads, along with some burlap alphas finished off this layout.
This little foxy card was so easy to put together using mainly stickers from the Happy Harvest Icon Sticker and Happy Harvest Quotes stickers. I also used a corner punch to add some detail to the Happy Harvest Apple Orchard and Happy Harvest Autumn Leaves papers then ran all of them through the Xyron 9" Creative Station. And the aqua blue makes the orange stand out. LOVE!
I cannot stand to see scraps of paper lying around without a purpose, so created this card using some die cuts that reminded me of Fall using the Happy Harvest papers, Happy Harvest Quotes, Happy Harvest Doodads and Happy Harvest Pumpkin Gingham Washi Tape. I even popped in a little ticket from the Happy Harvest Fancy Frills sticker sheets. The leaf was easy to create, just die cut, then wrinkle it up as much as you can right before gluing it down with Xyron’s Adhesive Solutions 3/16"  Dots. This way, I could get the leaf to look a little more realistic.
Lastly, a sweet little card for a friend who just bought a new house. I loved the Harvest Homes paper, and it will be perfect for moving in the Fall. I didn't want to busy up the streets too much, so added a few simple touches with the Happy Harvest Quotes, Happy Harvest Doodad and Happy Harvest Fancy Frills border sticker.
Thanks for celebrating just a little bit of Fall with me! I hope this inspires you to get some adorable Doodlebug papers and your Xyron products and start creating!

Supplies Used:
Xyron: Xyron MegaRunner, Xyron 9" Creative Station, Xyron Adhesive Solutions 3/16" Dots
Doodlebug: Happy Harvest Collection: Autumn Leaves, Apple Orchard, Plentiful, Sunflowers, Harvest Homes, Icon stickers, Fancy Frills stickers, Quotes stickers, Doodads, Pumpkin Gingham Washi
Other Supplies: twine, dimensional adhesive, cardstock, kraft paper, die cut machine, corner chomper Pin It

Friday, October 4, 2013

ScrapbookSteals My Mind's Eye Titles, Quotes & Die Cuts Mega Pack BLOG HOP!!! [Giveaway CLOSED]

Good Morning ScrapbookSteals Hoppers!! Heather here sharing with you my inspiration using the My Mind's Eye Titles, Quotes & Die Cuts Mega Pack from ScrapbookSteals.com. I hope that you got here from the fabulous Staci Jones, and if not... Make sure that you start at ScrapbookSteals' Blog to hit all of the stops along the way! There is a $20 Gift Card to ScrapbookSteals for one of the lucky hoppers!!
Heather Conklin  (You're here!!)

I was so happy to spend time with my lovely ScrapbookSteals ladies last weekend, and really wanted to create some cards that I could just send to both the women that I was lucky to see, and those that were not able to make it this time. (If you get a card, just pretend you never saw it!)

The My Mind's Eye Titles, Quotes & Die Cuts Mega Pack was a bit of perfection, as I was able to start making easy cards for everyone by using the die cuts in the pack. If you are not a big layout person, or do not usually reach for your die cuts, you really need to. If it weren't for all those responsibilities, I would have busted out SO many more of these!


Aren't these just too much fun? Super easy too. Grab a 6x6, your My Mind's Eye Titles, Quotes & Die Cuts Mega Pack, your Mega Runner, and go for it!!

Make sure that you comment, I have a 6x6 pad of Christmas papers waiting upstairs for one lucky person!! 

Supplies Used: 
My Mind's Eye Titles, Quotes & Die Cuts Mega Pack, Coredinations Gemstones, MyMindsEye Twine, MyMind'sEye Life of the Party 6x6, Echo Park 6x6 Dots and Stripes, Signo white pen, Teresa Collins washi & sequins, Fancy Pants cork pieces, Xyron Mega Runner Pin It

Wednesday, October 2, 2013

AUTHENTIQUE PAPER: Naturally Gorgeous Jewelry

Today on the Authentique Paper Blog, I created a tutorial to show you how to use resin and the Natural Collection to create some pretty fabulous jewelry! This would make some amazing presents for the holidays.
Make sure that you check it out today! Let me know if you did!!
Pin It