
I started with a white sheet of Neenah paper, and covered it with
Distress Ink in Frayed Burlap. I just pounced and swirled the ink over the paper so that it was mottled with color.
I then grabbed the
"Flicks" Stencil Girl stencil and pounced
Vintage Stain Distress Ink over and over again, covering the paper with random stencil prints.
There is no pattern to this, so that the pattern is completely random.
I did the same again in
Tumbled Glass...
And in
Broken China.
Once I had my new "patterned paper", I used one of my pillow box cuts from my Silhouette, and created a
cute pillow box.
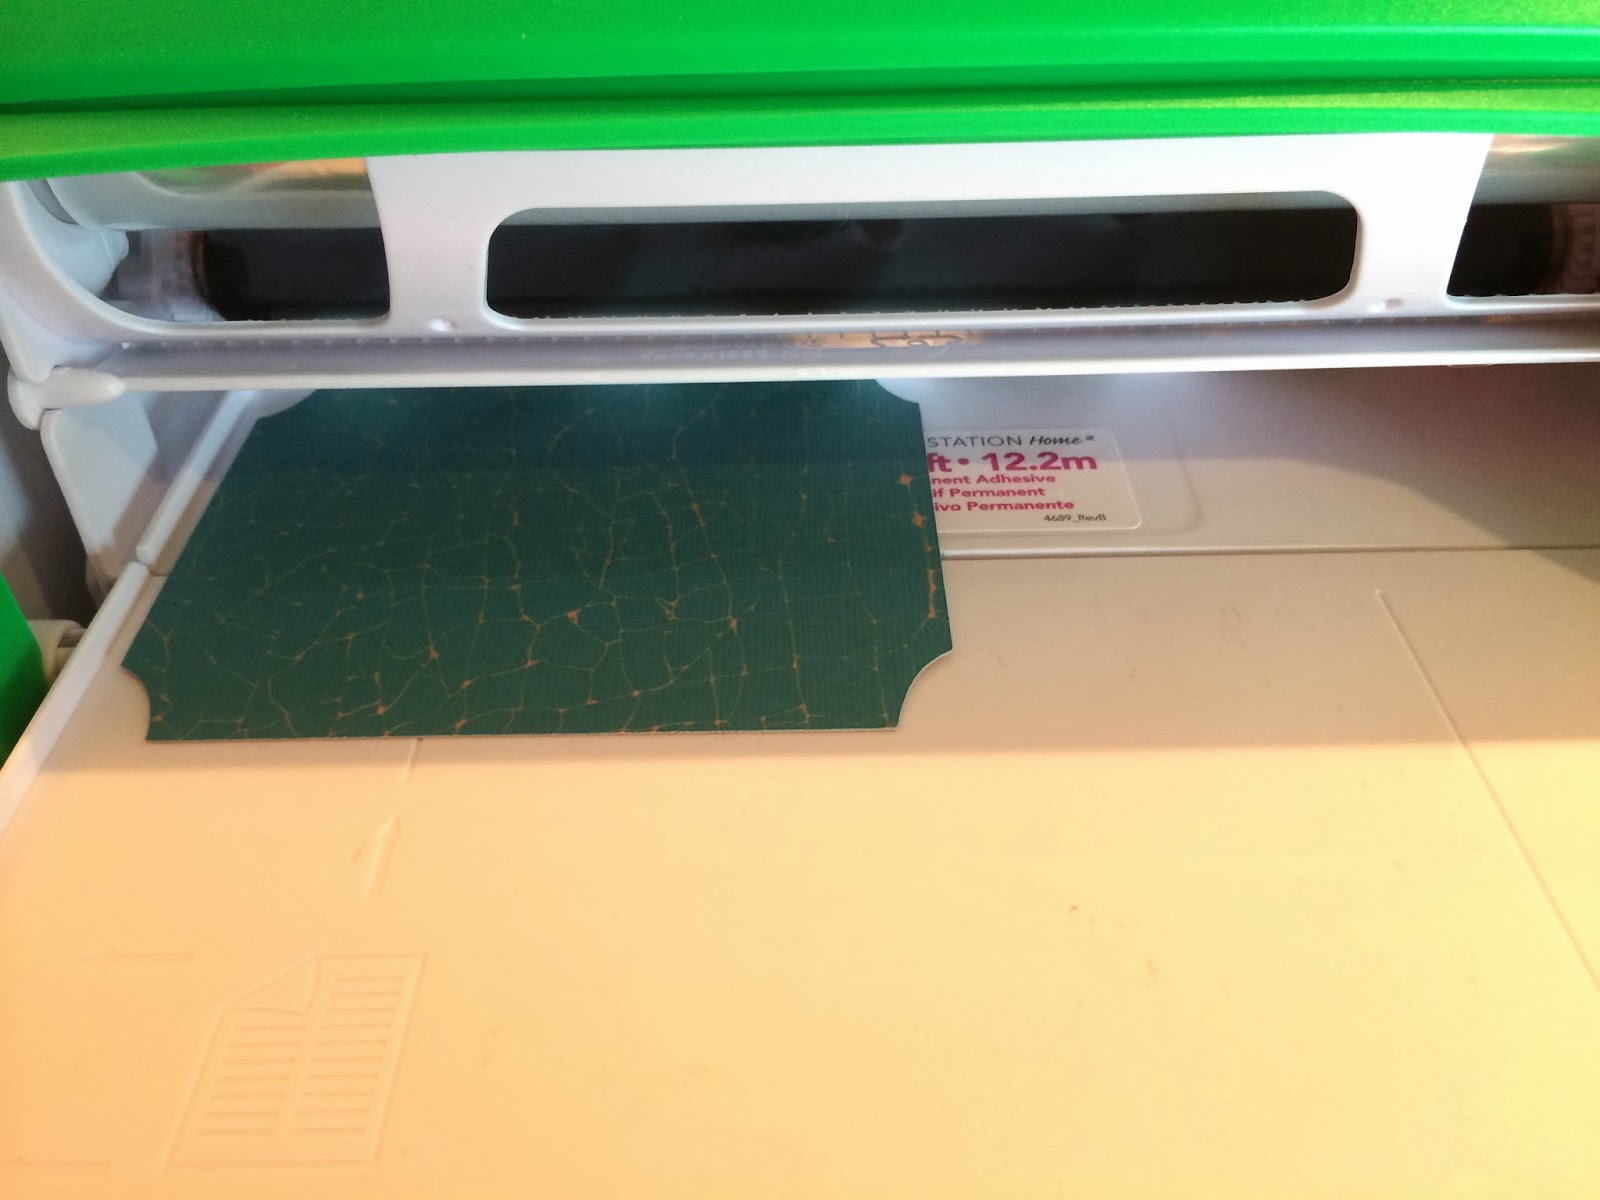
Once it was glued shut, I measured and cut a piece of
Core'dinations Kraft-Core cardstock and adhered it to the pillow box (while closed) using my
Xyron 9" Creative Station.
I then cut a leaf using more of the
Core'dinations Kraft-Core cardstock paper. I ran this and my stencil (the sandwich is upside down here...) through my
Xyron 9" Creative Station.
See... Here it is the right way. This kind of worked. The adhesive stuck to the stencil, but not the leaf on top of it. To make it work the first time, I suggest burnishing the adhesive through each section of the stencil. I ended up turning the stencil over, and just pressing the holes of the stencil onto the leaf.
It's not perfect, but I almost like this look even better than what I had originally thought it would look like. I then sprinkled gold embossing powder on this and used my heat gun to set it.
Because I used adhesive and not an embossing ink, the powder stayed more solid, but is permanently stuck to the paper. (FYI: Goo Gone took most of the adhesive off of the stencil, without melting the plastic!)
I then used a combination of sequins, May Arts twine, button and a stamped flag to finish off the piece. The
Xyron Adhesive Solutions 3/16" Dots are perfect for sticking down the sequins.
I'm kind of ink love with the finished version. The
Stencil Girl stencil made such a unique design.
Supplies:
Xyron 9" Creative Station, Xyron Mega Runner,
Xyron Adhesive Solutions 3/16" Dots,
"Flicks" Stencil Girl stencil, Core'dinations Tim Holtz Kraft-Core Shattered 6x6, Distress Inks (Frayed Burlap, Vintage Photo, Broken China, Tumbled Glass), Lawn Fawn sequins, May Arts ribbon, My Mind's Eye button, A-Muse stamp, kraft paper, ink, American Crafts Zing embossing powder, Neenah cardstock in Solar White, Silhouette
Pin It


Love the way you've used this stencil with the layers on the bottom and then with the glitter- Wow! Now this is the way to give a Thanksgiving gift!
ReplyDeleteLove this stencil and all the ways you used it! Great tutorial!
ReplyDeleteWhat a wonderful project! So creative! Love your color palette and layers!
ReplyDeleteLove it. Thanks for sharing!
ReplyDeleteGreat job!
ReplyDeleteThis came out beautiful.
ReplyDeleteThanks for all the tips
in creating it.
Carla from Utah
is wonderful!
ReplyDeleteMUST GET FLICKS! Your pillow box is gorgeous! I especially love the leaf! Goo Gone is magic isn't it? Hubby came home from putting up tree stands and was all pitch. I told him I could have it all off him in less than 10 minutes and he looked at me like I had 5 eyes and a horn. Got my Goo Gone and had him clean in 8 minutes flat! Even took the pitch out of his hair and beard with no painful tugging or cutting! He was amazed!
ReplyDeleteThanks for sharing your beautiful pillow box!
What a wonderful Thanksgiving treat! I LOVE the way you used the StencilGirl stencil! Very creative!
ReplyDeleteLove it - superb project x
ReplyDelete