Showing posts with label 12x12. Show all posts

Tuesday, July 24, 2018

AUTHENTIQUE PAPER: Christmas in July

For today's post, I have a trio of fun Christmas Tags using our Jingle Collection. It was easy to create some wonderfully colorful and fun tags with a few of the 12x12" papers, some stamps, and ribbon ends that I had in my stash. 
The first of the tags that I had was this fun cocoa flavored tag. I paired a sweet little cup of cocoa stamp set from my stash with the wonderful papers from Jingle Three.
The wonderful marshmallows were just too adorable. The adorable Santa image is from the NEW Jingle Elements, die cuts that are pre-punched out for you!
Tags are a great way to use up some of those smaller elements that are just lying around in your stash. In this case, the star has been hanging out in my stash for over a year. Use up those fun little details on tags!
I couldn't resist pairing this wonderful image from the Elements sheet on this tag. The adorable Santa just looked perfect against the marshmallows of Jingle Three.
The second of the trio of tags focused on the wonderfully, vintage Santa from the Jingle Eight cut-apart sheet. The doily behind the Santa was from the reverse of Jingle One. I loved the peek-a-book look of the patterned paper behind the main image.
Again for this tag, I used little scraps of ribbons to create the attachment bows. Don't be afraid of using just small ribbons. By using a tiny attatcher or stapler, you can secure even the smallest of ribbon scraps.
For the last tag, I pulled out one of my absolute favorite Christmas stamp and die sets, Light Parade by Brandi Kincaid. I just love this image of the little girl (there is also a boy). I colored her to mimic one of my own little girls, and paired a non-traditionally Christmas rainbow ribbon scrap with the fun patterns of Jingle Two.
I really loved the little Christmas tree snowglobes from the Jingle Two paper, and the sentiment from the Elements die cut page. The colored image works perfectly with all of the papers.
I hope this inspires you to start your Christmas tag collection going! I cannot wait to add these to my Christmas tag stash, for those extra-special presents!
Pin It

Wednesday, July 4, 2018

AUTHENTIQUE PAPER: Happy 4th of July from Authentique!!

Happy 4th of July! All of us at Authentique Paper wish America a Happy Birthday. We wanted to wish all of our American friends a Happy 4th of July this week! Before you all go out to celebrate with picnics and fireworks, we have a few patriotic projects to share that have been crafted up with our favorite, patriotic collections!  Remember, as with all Authentique Paper products, we are always Made in the U.S.A.! 

I created a cute banner to go on my mantle for the 4th of July. I really liked the pairing of the stars in the blue paper from the Authentique Heroic Collection, paired with the fabulous red striped paper from the Authentique Freedom Collection. I created the rosettes using my Silhouette Cameo, then hot glued those to bases before adding the letters/sentiments. The stars were just stickers that I purchased just for this project from Hobby Lobby.
Supplies Used: Authentique Heroic Collection, Authentique Freedom Collection, burlap banners pieces, star stickers, Silhouette Cameo, hot glue, Lawn Fawn alpha dies, ribbon
Pin It

Tuesday, September 27, 2016

DIY treat bags using Harvest

Fall is here! Crisp leaves, warm and cozy afternoons, and squirrels gathering for Winter. I thought that I would create two cozy little bags using our Harvest Collection to tuck a few treats in for later this month.
I started with the lovely plaid patterns in the Harvest Collection (Harvest Four, Harvest Five). There is something about plaid that just screams Fall to me. I used my Silhouette to die cut each bag (Design ID #100592), making sure to enlarge each to get the most of my 12x12 paper.
Each of the two bags has a combination of various die cuts and Details cardstock stickers. I used things that reminded me of Fall, leaves (oak, standard), acorns and feathers.
The edges of all of the die cuts and the bags are all inked to show definition between the layered paper. Not only are the die cuts layered and inked, they are popped up with some dimensional tape to help add some interest.
Some of the larger stickers were a bit too big for this small of a project, so I used my embossing powder tool to make them "unsticky." Now each of the stickers is a die cut!
 Filled with some matching candies, they would make a perfect little hostess gift. 
The best part of this paper is the lovely weight and texture. I know that these little bags will hold a ton of fun goodies. The gorgeous insides are also a fun bonus!
Supplies Used:
Authentique Harvest Collection: Harvest Two, Harvest Three, Harvest Four, Harvest Five, Details 12x12 Adhesive Cardstock
Other Supplies: Silhouette, Silhouette Online Store, dimensional adhesive, ink (Distress Ink), embossing powder tool
I hope that you are enjoying the Fall weather and Harvest Collection! Thank you for stopping by!
Pin It

Tuesday, September 6, 2016

It's a Fabulous Start to the School Year!

As a teacher, I love a nice desk set just like anyone else. Over summer, I decided to pull this cute little set together using the Fabulous Collection.
I started with a Moleskine book. My favorites are the graph paper Cahier Journals. They make just the perfect, small notebook that I can use for meeting notes. They are also really easy to decorate. In this case, I used my Xyron Creative Station to add adhesive to the Fabulous Six 12x12 paper, then used a craft knife to cut around the cover. Liquid glue would also work well.

I added some interest with some die cut pieces from the 12x12 papers, an Authentic Life Card and some of the stickers from the collection. Each of the edges were inked with Distress Ink to create some interest. To keep the journal closed, I added a cute binder clip.
I couldn't resist adding a few pencils into the mix and created this sweet little pencil holder. I just folded the Fabulous Five paper so that the back was slightly longer than the pencils, leaving the front slightly wider than the back. Then I folded over the flaps and glued them in the back.
To finish off the pencil holder, I added a sweet polka dot heart and a matching polka dot bow.
The last little piece to the set is a bright, buttoned tag. I couldn't resist layering the Details cardstock stickers to a punched tag. Then added the ribbon, and sewed on the button to keep it in place.
I hope that this inspires you to break out your collections for more than just cards and layouts.

Supplies Used:
Authentique Fabulous Collection: Two, Five, Six, Eight, Twelve, Authentic Life Cards, Details stickers, alpha stickers (older collection)
Other Supplies: Moleskine Cahier, ribbons (May Arts), button, kraft paper, binder clip & pencils (Target), Distress Ink (Antique Linen)
Pin It

Tuesday, June 21, 2016

June 2016 Projects From the June Gossamer Blue Main Kit

I had to wait a few days to break into my June Main Kit from Gossamer Blue. Summer just started, and we are already having a blast at a our house. The girls and I crafted quite a bit today, and here is what I ended up with!

I loved this Pinkfresh paper. It went perfect with this lovely black and white photograph of the wonderful spot in the painting studio of my alma mater. The flair is from my stash, and the sequins are from an older GB Life Pages kit.
This photo sums up my littlest to a tee. She's funny, she's silly, and she's all mine. I added a little bit of black cardstock and a print and cut file by Simple Stories.
We have spent much of our Spring at some lovely T-Ball games. My little player is fierce, bold, and such a good team player.
I think I craft about this little monster every time I have a set of projects. The past month or so, he has put us through the ringer. A few issues and a few visits to the vet. Thank goodness that's over now. I love all of the pops of black, and the enamel dots.
And of course a few cards. I snagged an older GB Life Pages card, using some Glossy Accents on the balloons for a great birthday card. The other two use another print and cut, this one by Amy Tangerine.

I think I will try to figure out how many extra cards I can make with the little bits and pieces that are leftover from the June Main Kit. I'm guessing about eight more :)
Pin It

Thursday, April 21, 2016

AUTHENTIQUE PAPER: Homestead Strawberry Basket with Petaloo Flowers

You're going to want to check out this post over on the AUTHENTIQUE BLOG today! We are hopping with Petaloo this week for some fun prize packs including the latest of the Authentique Collections and Petaloo flowers and trims!

Here's a little sneak of my project, created with the new Homestead Collection and this cute little strawberry basket box card from the Silhouette Online Store.
http://blog.authentiquepaper.com/2016/04/homestead-strawberry-basket-with.html

Pin It

Friday, April 17, 2015

AUTHENTIQUE PAPER: Down by the Sea(side)

Happy Friday! If you haven't already checked out Authentique's newest line Seaside, then you really must! The colors are beautiful (I LOVE that pop of red against the aqua and blues!!), and the patterns work well for tropical (coral and shells!) and non-tropical oceany-type images. I cannot wait to grab a minute and scrap away some of those wonderful beachy memories we made last year.

This is a super fun card that I cut using my Silhouette and their online store. I added some Core'dinations cardstock to create the mermaid. I purchased this cut so long ago, but was waiting for the right paper to show up. The Seaside Collection was the right paper!


I could resist creating a quick, fun layout using one of my favorite Seattle Instagram pictures! Those seagulls pop against the aquas. LOVE!
If you haven't checked out Seaside, check out this post on the Authentique Blog for some more pictures of the fun card. I even put together a really simple matching envelope! The link also has a complete product list.
Pin It
Wednesday, April 1, 2015

Let's Do This (October Shop Your Stash Kit)

Some layouts are just too darn fun to not create. This one used the October Shop Your Stash kit that I had made, plus a fun sheet of Teresa Collins paper (no clue what line... I looked, but couldn't find it). I couldn't resist adding it to my layout.
I mean, if you HAVE to get older and get glasses, you might as well scrap about it, right?!?!?

PS... I'm hitting 400 posts (WHAT?!?!?!) on Friday. Check back in for a Giveaway! I'm going to celebrate! Pin It

Friday, March 6, 2015

AUTHENTIQUE PAPER: Lucky Us Home Decor (Tutorial Linked)

Today on the Authentique Blog, I am sharing a tutorial using the Lucky Collection, my Xyron 9" Creative Station, and Silhouette Cameo. A special shoutout to Michelle Buck for her amazing photography of the girls in 2013.
Make sure that you stop on by the Authentique Blog and check out how to make your own home decor! Pin It

Wednesday, February 18, 2015

Hooray For Sweaters, Boots & Pumpkins

There are some things that make me smile. My warm boots on a crisp fall day is one of these things. I really loved this Instagram picture of my Uggs and a couple of pumpkins that we carved for Halloween. I really loved how the orange pops against the grey of my house steps. I started with this wonderful stitched heart in the Silhouette Online Store. I stretched out the heart so that it would span the entire 12x12 space, and used a ton of bright and fabulous patterns paired with a simplistic background.
The wonderful title is actually the Happy Harvest Printable from Life Love Paper I also added a few alphas for some extra pop, and pulled in the orange in a wonderful triangle of interest. LOVE! Pin It

Wednesday, August 21, 2013

AUTHENTIQUE PAPER: A Thrilling Way to Add Interest to Layouts

On the Authentique blog today I show how you can recreate this great layout from the Create-N-Connect/Craft & Hobby Association show. There is a of interest by using almost every pattern in the 6x6 pad, and this is an easy way to use them all at the same time. Check it out!

Pin It

Sunday, April 28, 2013

MWM Amber 7 & Gossamer Blue's March Kit

I've been pretty lame on the MWM front this term. There is no possible way that I would remotely finish all of the Amber sketches... I do have a few that I actually did finish. Here, I used the Amber 7 MWM by the wonderful Melodee Cloud.
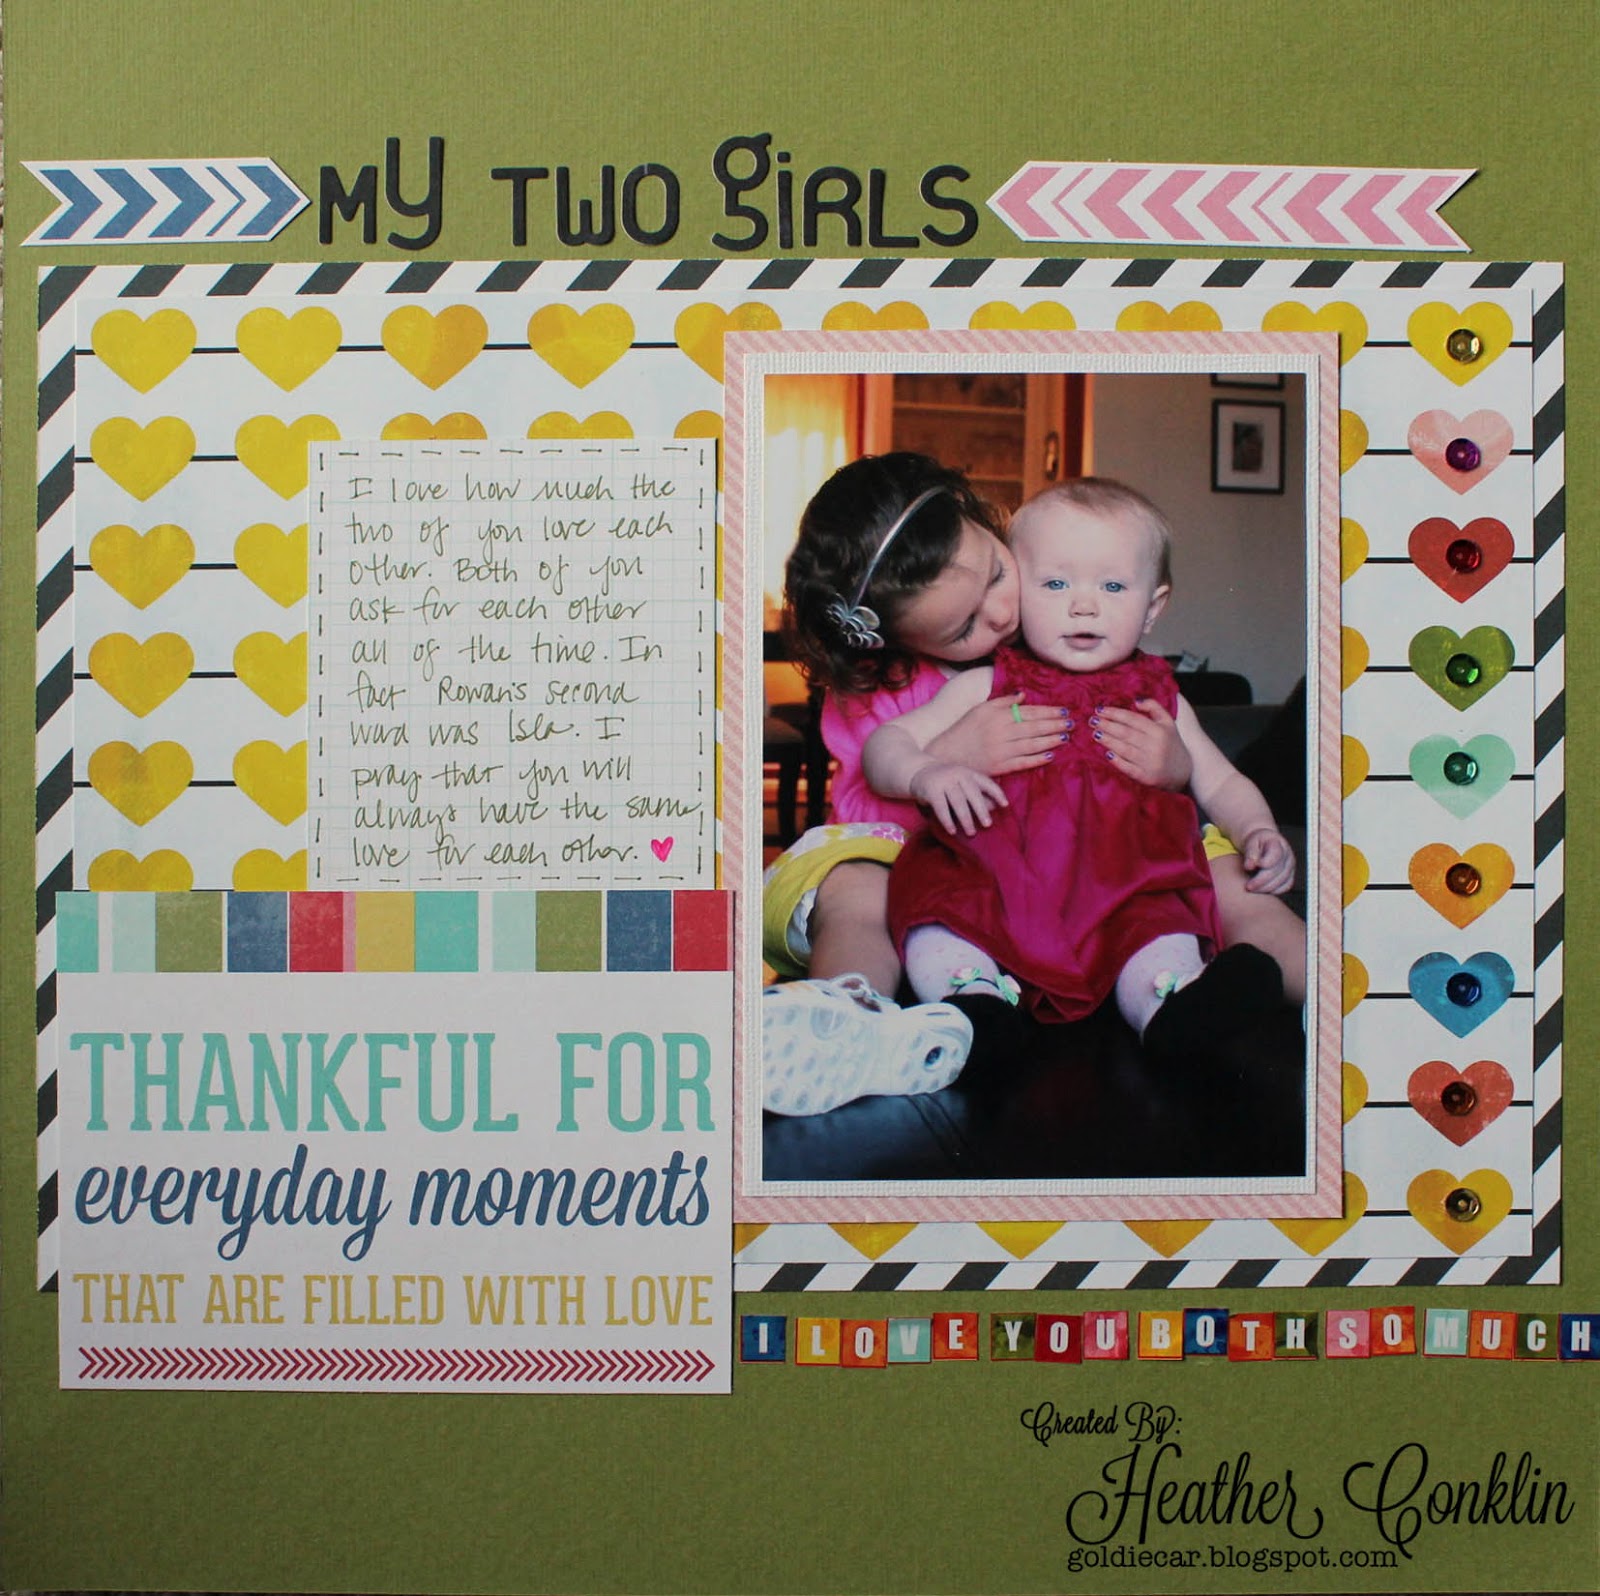
I loved this photo from Easter. There was so much pink loveliness. I also snagged some cute sequins from Michael's in rainbow colors. They just HAD to be glued to the rainbow hearts on the fantastic Glitz paper that was in Gossamer Blue's March kit. It really was an amazing kit; full of bright colors and fun patterns. Pin It

Tuesday, April 2, 2013

March Layouts with Gossamer Blue

Just a couple of layouts to share today using my March Gossamer Blue kit. The first layout is a lift from one of the Gossamer Blue subscribers, Elmatt27. I just loved her layout, and for the Gossamer Blue Member Scraplift Challenge I wanted to use the bright colors and graphic feel that she had in her project. I used one of my Hipstamatic pics that was pretty blurry. It made for a perfect photo for this project though.
 
The second layout used the Elle's Studio Today paper on which I created a blackboard feel with the white gel pen title and some chalk ink. I then layered some bright colors with an Elle's Studio Summer Lovin' journaling box, some tags, and yellow washi.
Enjoy! Pin It

Saturday, March 16, 2013

Scraplifting with Gossamer Blue and Elle's Studio

I have blogged before about both Gossamer Blue and Elle's Studio. I L-O-V-E both companies. Gossamer Blue's kits are always so amazing and beautiful. And Elle's Studio has wonderful little tags and extras that are perfect for Project Life and Project12. (And they are LOCAL!! to me anyway!)

The two companies were having a fantastic scraplift challenge. Here is what I came up with. I used mainly pieces from my March Gossamer Blue kit, with a few additional patterned paper from the August GB kit, and some Summer Lovin' Elle's Studio pieces that I had in my stash. I also used a few of my OA Sprinklers and some Stickles glitter (I really only like glitter in liquid form!).
I combined some of the other My Mind's Eye buttons that I had, as well as a few more of their enamel dots. Lastly, I added some Cath Kidston washi tape. For all of the scalloped parts, I used my Kiwi Lane Designs Templates in Scallops.

Here is Magda Mizera's FANTASTIC layout. I just love her work. You can check out her blog HERE. She has some MAD photoshop skills. One day...
I did a pretty blatant scraplift. And I challenged myself to use yellow, which isn't my normal go-to color. I figured since it was a complimentary color to Miss R's onesie, it would make an interesting mix. Pin It

Post CHA... Cards!!

Just a few cards that I haven't blogged yet. All were created using Authentique Seasons collections in Seasons: Spring and Seasons: Winter. I added a few embellishments using May Arts and random ribbons, Maya Road stick pins, Pebbles flowers, and some cuts with my Silhouette.

Pin It