Showing posts with label May Arts. Show all posts

Friday, December 13, 2019

AUTHENTIQUE PAPER: Stamped and Watercolored Wobble Snowfall Collection Tags

Hello! It's getting to the point in the year where the gifts are starting to pile under the tree, and I am starting to run out of gift tags. For today's post, I created a sweet gift tag set using the Snowfall Collection. These are super easy to make, and just take a bit of time.
I started with the cute Snowfall Collection, and then painted the three children to match the colors in the collection. I really loved adding a bit more of the red tones, as they added a cute Christmas flair to this collection. This way I could use the fun colors into the Christmas season.
 
Each of the children images are stamped and cut using the Bundled Up Bundle from Concord and 9th, then painted with Jack Richeson Collegiate paints. The images were just perfect for the Snowfall Collection.
The first tag is created using Snowfall Six with a tag topper of Snowfall Eight. I just loved the sweater texture of Snowfall Eight, and used it as the tag topper for all three tags. 
 The second tag uses Snowfall Five and a few of the Snowfall Elements cardstock dies.
My favorite of the three tags uses Snowfall Seven and features a couple of the Snowfall Elements cardstock dies. Each of the stamped images is popped up with an Action Wobble Spring. Each will move and shake as the tag moves. The ribbons are also just stapled on with the Tiny Attacher. This way the ribbon will not shift. A simple piece of twine or string could attach each of these to a package or present. 
Thanks for stopping by to see today's Christmas tag set. I cannot wait to see what you make with the Snowfall Collection
Authentique Supplies: Snowfall Collection (Five, Six, Seven, Eight, Elements)
Other Supplies: Bundled Up Stamps & Dies (Concord & 9th), Shay Tag Dies (Felicity Jane), Collegiate Watercolor Set (Jack Richeson), Tiny Attacher (Ranger - Tim Holtz), 3/4" Chevron Twill - Green ribbon (May Arts), Action Wobbles - mini (Hampton Arts) Pin It

Wednesday, February 13, 2019

AUTHENTIQUE PAPER: Happy Valentine's Day from the Design Team!

I turned a Target Dollar Spot ornament and pieces from the Romance Collection into a fabulous Valentine's wall hanging. You could easily use this as a larger ornament or home decor item. The twine is also detachable, so if you wanted a small stand, that would also work. 
The heart is hand cut from a piece of Romance Three. Before it was inked with Distress Oxide inks, I also used a Lawn Fawn Reverse Stitched Scallop Circle Window die in the place where the heart's "heart" would be. This was where I added the interest to this piece.
I layered die cuts from the Elements die cut sheet, as well as various flowers and Pretty Pink Posh Water Droplets. The last detail was to glue a piece of 3/8" Mini Pom Pom Ribbon in White by May Arts
 Supplies: Authentique Romance Collection and Die Cuts, Target Dollar Spot ornament, Dimensional Adhesive, ribbon (May Arts), water droplets (Pretty Pink Posh), flowers (Petaloo - retired), Oxide Ink (Distress - Ranger), dies (Lawn Fawn)
 
Pin It

Tuesday, September 6, 2016

It's a Fabulous Start to the School Year!

As a teacher, I love a nice desk set just like anyone else. Over summer, I decided to pull this cute little set together using the Fabulous Collection.
I started with a Moleskine book. My favorites are the graph paper Cahier Journals. They make just the perfect, small notebook that I can use for meeting notes. They are also really easy to decorate. In this case, I used my Xyron Creative Station to add adhesive to the Fabulous Six 12x12 paper, then used a craft knife to cut around the cover. Liquid glue would also work well.

I added some interest with some die cut pieces from the 12x12 papers, an Authentic Life Card and some of the stickers from the collection. Each of the edges were inked with Distress Ink to create some interest. To keep the journal closed, I added a cute binder clip.
I couldn't resist adding a few pencils into the mix and created this sweet little pencil holder. I just folded the Fabulous Five paper so that the back was slightly longer than the pencils, leaving the front slightly wider than the back. Then I folded over the flaps and glued them in the back.
To finish off the pencil holder, I added a sweet polka dot heart and a matching polka dot bow.
The last little piece to the set is a bright, buttoned tag. I couldn't resist layering the Details cardstock stickers to a punched tag. Then added the ribbon, and sewed on the button to keep it in place.
I hope that this inspires you to break out your collections for more than just cards and layouts.

Supplies Used:
Authentique Fabulous Collection: Two, Five, Six, Eight, Twelve, Authentic Life Cards, Details stickers, alpha stickers (older collection)
Other Supplies: Moleskine Cahier, ribbons (May Arts), button, kraft paper, binder clip & pencils (Target), Distress Ink (Antique Linen)
Pin It

Tuesday, February 2, 2016

AUTHENTIQUE PAPER: "Adore"-able Valentine's Packaging

I wanted to share with you a few quick and easy Valentine's that you could make using Authentique's new Adore Collection. To start, I found an adorable Heart Window Treat Wrap (#114931) that was just the right size for a little Valentine's Jelly Belly box. I cut the pieces from Blushing and the Enhancements page. I really love that black and white stripe that was on the reverse of the images, and wanted to showcase it. Finish them with ribbon and a sticker, and they are perfect!
The "Love" home decor was simply a fun wood piece I found at my local craft store, then painted white and covered with pieces from the 6x6 Bundle. To get the letters just so, I made sure to glue then down first, cut with a craft knife, then sand the edges smooth. Inking the edges last, makes any imperfections disappear!
The last little Valentine I have for my little family is a fun gift bag that I filled with yummy chocolates. I just love the Blushing paper, and had to use it once again. I used almost the entire sheet for this, and it's just the perfect size for an entire bag of goodness! To make the bottom more secure, I glued in a small square of 110# cardstock. To complete this, I used some wonderfully pink May Arts ribbons.
The fun gift tag is created from one of the Components die cuts, and a Details sticker that I hole-punched. Simple and perfect.
 Hopefully this gets you in the mood to create some fabulous Valentine's yourself!
Adore Collection: Blushing, Enhancements, 6x6 Bundle, Details stickers, 6x12" Components
Additional Supplies: May Arts ribbons, Silhouette Cameo, Silhouette Online Store [Heart Window Treat Wrap (#114931), Vertical Heart Box (#37202)], wood word, white paint, inks, adhesive, candies
Pin It

Friday, April 17, 2015

AUTHENTIQUE PAPER: Down by the Sea(side)

Happy Friday! If you haven't already checked out Authentique's newest line Seaside, then you really must! The colors are beautiful (I LOVE that pop of red against the aqua and blues!!), and the patterns work well for tropical (coral and shells!) and non-tropical oceany-type images. I cannot wait to grab a minute and scrap away some of those wonderful beachy memories we made last year.

This is a super fun card that I cut using my Silhouette and their online store. I added some Core'dinations cardstock to create the mermaid. I purchased this cut so long ago, but was waiting for the right paper to show up. The Seaside Collection was the right paper!


I could resist creating a quick, fun layout using one of my favorite Seattle Instagram pictures! Those seagulls pop against the aquas. LOVE!
If you haven't checked out Seaside, check out this post on the Authentique Blog for some more pictures of the fun card. I even put together a really simple matching envelope! The link also has a complete product list.
Pin It

Wednesday, November 26, 2014

Shop Your Stash Kit - November 2014

I know I may be a little late in showing this month's Shop Your Stash kit that I created... But it's been a busy (and exciting!) month! I have a few layouts that I will share later that go more into this.
Here's my fun (and super warm-toned) kit. I didn't really have a direction with this, but really wanted to play with some warmer and darker tones than I may normally use. I pulled some dark, warm browns, reds, and teals to add some more color. I didn't want to create something super warm-toned, but wanted to enhance the Fall-esque nature of some of the items that have been kicking around my stash for too long.


Paper Top Row L-R:
Daily Details (Hello Autumn) – Bella Blvd.
Worldwide (Vintage Chic) – Heidi Swapp
Victorian (Random Collection) – Crate Paper
Oh Joy (Jolly by Golly) – Cosmo Cricket
Crisp (Suave Collection) – Authentique

Paper Bottom Row L-R:
You & Me (Gertie-Stella & Rose) – My Mind’s Eye
Accent Cuts (Random Collection) – Crate Paper
Bridesmaids (Portrait Collection) – Crate Paper
In Print (Kraft Funday) – My Mind’s Eye
Flour Sack (Nook & Pantry) – Basic Grey

Partial Pieces
Pioneer (Thankful Collection) – Authentique
Storytime Street (5th & Frolic) – American Crafts
Sycamore (Into the woods) – Lawn Fawn
Vellum

Cardstock
orange – Core’dinations
kraft - American Crafts
brown - American Crafts
forest green - Core’dinations

Embellishments:
Everyday Fun (Kraft Funday) – My Mind's Eye
Vintage Mini Memories Cameras – Maya Road
Chipboard Heart Mini Album – Maya Road
Flowers – Heidi Swapp & Petaloo
In a Stitch Blooms (kraft) – Sassafras Lass
Mini Envelopes – SMASH
Various die cuts – My Minds Eye
Border Stickers (Acorn Avenue) – Crate Paper
Hexagon Confetti – Um Wow Studio
Thickers (burlap, Hello) – American Crafts
Alpha Stickers (Woodland Park) – October Afternoon
A is for Autumn (Sweater Weather) – Simple Stories
Badges – Studio Calico
Ribbon – May Arts
Sticky Keys (Ghoul Green) – October Afternoon
Buttons (The Sweetest Thing) – My Mind’s Eye
Polaroid frames - Maya Road

I also included a few pocket page cards that I printed so round out my pocket scrapbooking this month. The six cards to the left are from Paper Issues, and the Fall card is a printable that I sized down from Studio Calico. I also am including, but they aren't pictured a couple of Elle's Studio Die Cuts... 
http://www.shopellesstudio.com/Sycamore-Lane-Cutouts.html
 http://www.shopellesstudio.com/Sycamore-Lane-Word-Labels.html

Pin It

Monday, September 22, 2014

AUTHENTIQUE PAPER: Authentique Paper, May Arts, Imagine Crafts Blog Hop- Create a Fall Wreath with "Harmony

Good Morning!! Check out the Authentique Blog, as we are excited to share our projects also using products made by ImagineCrafts and May Arts. Today, I am sharing a fun Fall wreath using Harmony Collection by Authentique, three May Arts ribbons and my favorite ImagineCrafts Memento Ink. I even have a fun mini-tutorial on the great ribbon flowers!
Be sure to check the Authentique Blog every day this week for more project inspiration! We have an Authentique Prize Pack as well as prizes from May Arts Ribbon & Imagine Crafts to give away to a couple of our lucky commenters on the original blog post.

For another chance to win, make sure you follow us on Instagram @authentiquepaper 

Also, make sure you stop and visit us as well as our friends over at May Arts Ribbon & Imagine Crafts on facebook for prizes and lots of wonderful inspiration coming your way!

Supplies:
 Authentique Harmony Collection: Abundance & Awakening 12x12 Papers, 6x6 Bundle
Additional Supplies: wreath, brad, Xyron 1.5" Sticker Maker, liquid glue, wire, Epiphany Craft's Shape Studio Round 25 tool and epoxy stickers, Kiwi Lane Designer Templates (Scallops)
Pin It

Tuesday, July 8, 2014

AUTHENTIQUE PAPER: Authentique Paper & Pretty Pink Posh- Perfectly "Pretty" Shaker Cards

You know I LOVE sequins, and LOVE Authentique... So when asked to combine the two, of COURSE I had to have fun with them and make two shaker cards! Check them out on today's Authentique Blog Post with Pretty Pink Posh!!

Pin It

Tuesday, March 11, 2014

AUTHENTIQUE PAPER: A Spring Wreath with "Flourish"

Make sure that you check out today's Authentique Paper blog post today!! I'm welcoming Spring with this beautiful wreath that uses the amazing Flourish Collection.

I just LOVE all of the elements!

Pin It

Wednesday, February 12, 2014

AUTHENTIQUE: Easy Peasy Easter Cards

Today I have a couple super quick cards using  Authentique's Promise Collection and the  Enhancements Cut Apart 12x12. Come see how truly easy peasy these gorgeous cards are today!
http://blog.authentiquepaper.com/2014/02/i-promise-these-cards-are-easy-to-make.html
Pin It

Wednesday, January 29, 2014

AUTHENTIQUE: Leaky Shed Chipboard!!

Hello! Today's post over at Authentique Paper uses some amazing chipboard by Leaky Shed Studios! This is a cute mini book that I created using Leaky Shed's Camera Scrapbook Album. The great part of this mini, is that all of the sections are separate, so that it is really easy to cover with various papers and then glue down to create some amazing dimension.
For the cover of this mini, I started with Expedition, then covered the middle sections with Touring. Lastly, I used the amazingly inky black paper from the back of the Voyage. I love how black that paper is. The large sticker is from the Details sheet and Elements stickers for the letters. I just love that this mini reminds me of the boat pictures inside by using the May Arts Cord to make it look like a life ring. 
My second project is a sweet Valentine heart decor. I found a paper heart, painted it with acrylic paints, then added pieces from the Smitten Collection (Promise and Components papers) along with Leaky Shed's fantastic Watch Parts.
I really liked how the gears look like they are making the heart run.

Supplies Used:
Authentique Paper: Abroad Collection: Expedition, Touring, Voyage, Details, Elements; Smitten Collection: Promise, Components
Leaky Shed Studio: Camera Scrapbook Album, Watch Parts
Other Supplies: paper heart, acrylic paint, Xyron High Tack Adhesive Dots, Xyron Maya Road Trinket Pins, May Arts Ribbons and Cording Pin It

Thursday, October 17, 2013

AUTHENTIQUE PAPER: Cards & Tags with Core'dinations

I really enjoyed making this set of tags for the Authentique Blog today. Make sure that you check out all of the wonderful details that come about by combining Authentique papers and Core'dinations cardstock!

Pin It

Monday, October 14, 2013

Stenciled Pillow Boxes using Xyron and Stencil Girl Products

Good Morning! I created this fun Thanksgiving pillow box using Xyron and Stencil Girl Products.

I started with a white sheet of Neenah paper, and covered it with Distress Ink in Frayed Burlap. I just pounced and swirled the ink over the paper so that it was mottled with color.
I then grabbed the "Flicks" Stencil Girl stencil and pounced Vintage Stain Distress Ink over and over again, covering the paper with random stencil prints.
There is no pattern to this, so that the pattern is completely random.
I did the same again in Tumbled Glass...
And in Broken China.
Once I had my new "patterned paper", I used one of my pillow box cuts from my Silhouette, and created a cute pillow box
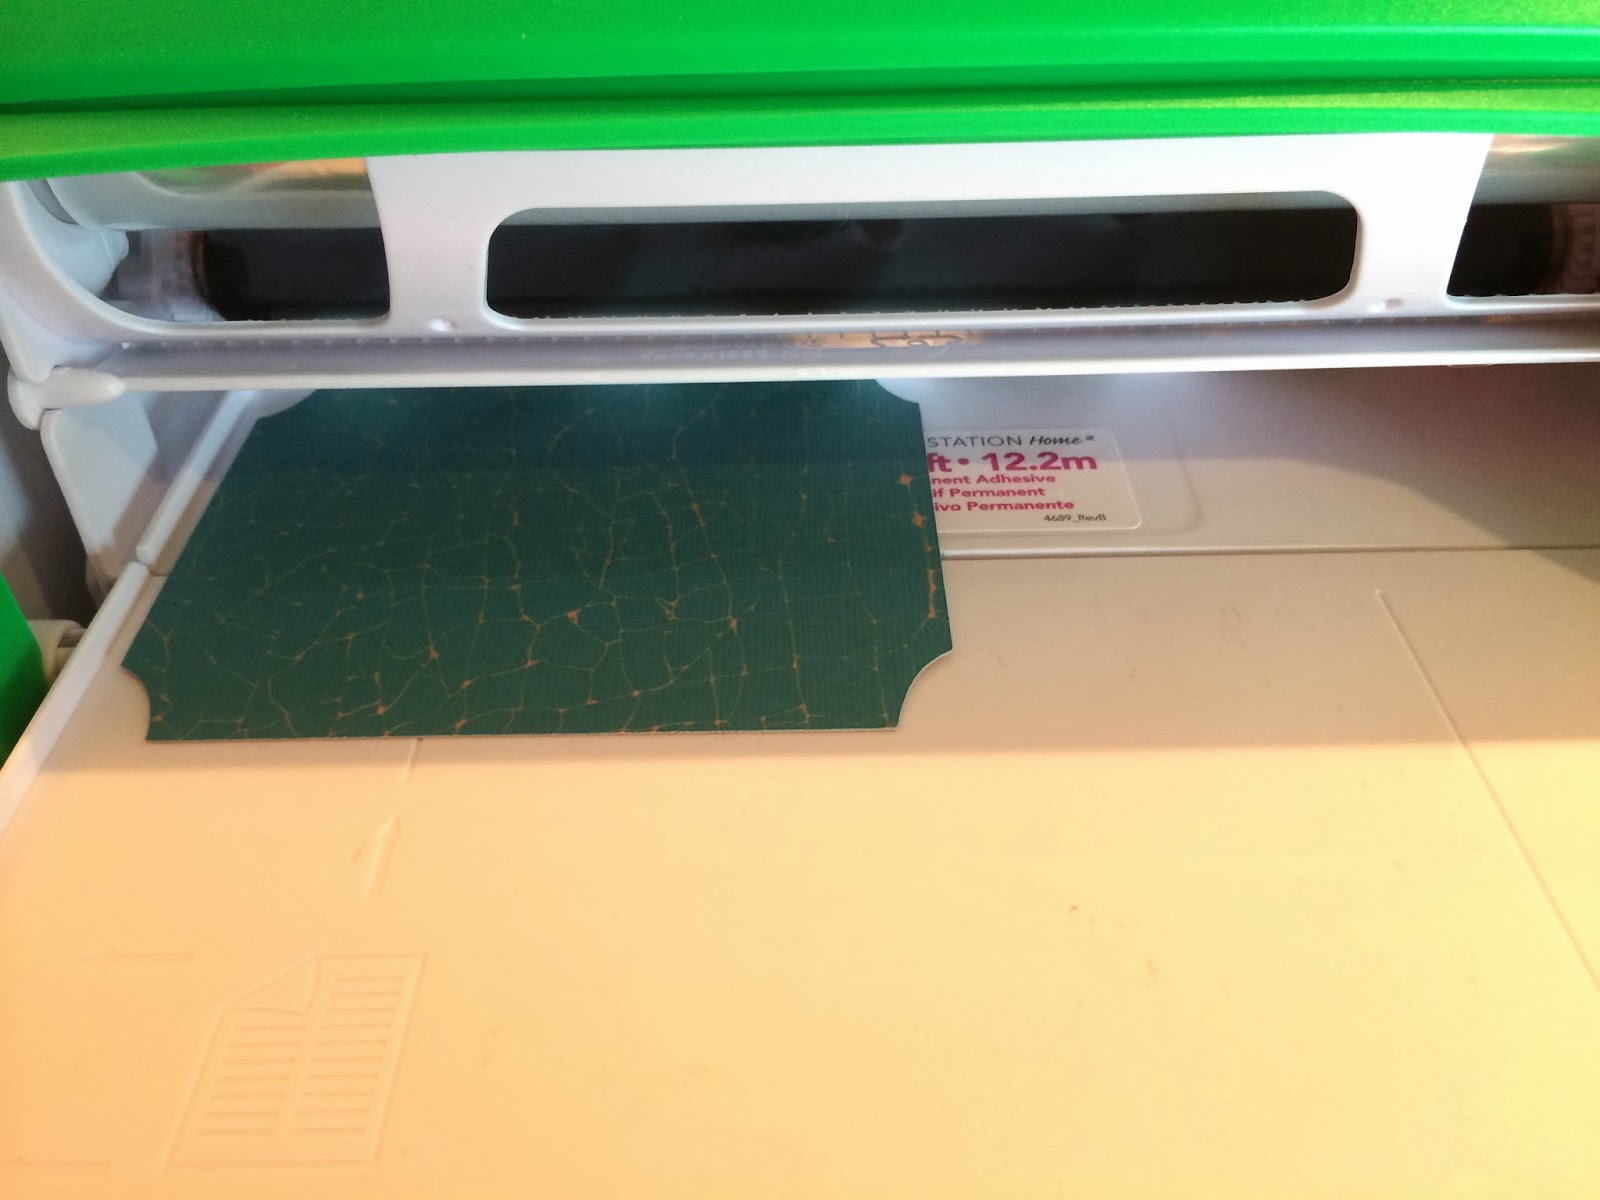
Once it was glued shut, I measured and cut a piece of Core'dinations Kraft-Core cardstock and adhered it to the pillow box (while closed) using my Xyron 9" Creative Station.
I then cut a leaf using more of the Core'dinations Kraft-Core cardstock paper. I ran this and my stencil (the sandwich is upside down here...) through my Xyron 9" Creative Station.
See... Here it is the right way. This kind of worked. The adhesive stuck to the stencil, but not the leaf on top of it. To make it work the first time, I suggest burnishing the adhesive through each section of the stencil. I ended up turning the stencil over, and just pressing the holes of the stencil onto the leaf.
It's not perfect, but I almost like this look even better than what I had originally thought it would look like. I then sprinkled gold embossing powder on this and used my heat gun to set it.
Because I used adhesive and not an embossing ink, the powder stayed more solid, but is permanently stuck to the paper. (FYI: Goo Gone took most of the adhesive off of the stencil, without melting the plastic!)
I then used a combination of sequins, May Arts twine, button and a stamped flag to finish off the piece. The Xyron Adhesive Solutions 3/16" Dots are perfect for sticking down the sequins.
I'm kind of ink love with the finished version. The Stencil Girl stencil made such a unique design.


Supplies:
Xyron 9" Creative Station, Xyron Mega Runner, Xyron Adhesive Solutions 3/16" Dots, "Flicks" Stencil Girl stencil, Core'dinations Tim Holtz Kraft-Core Shattered 6x6, Distress Inks (Frayed Burlap, Vintage Photo, Broken China, Tumbled Glass), Lawn Fawn sequins, May Arts ribbon, My Mind's Eye button, A-Muse stamp, kraft paper, ink, American Crafts Zing embossing powder, Neenah cardstock in Solar White, Silhouette Pin It