Showing posts with label Distress Ink. Show all posts

Wednesday, February 13, 2019

AUTHENTIQUE PAPER: Happy Valentine's Day from the Design Team!

I turned a Target Dollar Spot ornament and pieces from the Romance Collection into a fabulous Valentine's wall hanging. You could easily use this as a larger ornament or home decor item. The twine is also detachable, so if you wanted a small stand, that would also work. 
The heart is hand cut from a piece of Romance Three. Before it was inked with Distress Oxide inks, I also used a Lawn Fawn Reverse Stitched Scallop Circle Window die in the place where the heart's "heart" would be. This was where I added the interest to this piece.
I layered die cuts from the Elements die cut sheet, as well as various flowers and Pretty Pink Posh Water Droplets. The last detail was to glue a piece of 3/8" Mini Pom Pom Ribbon in White by May Arts
 Supplies: Authentique Romance Collection and Die Cuts, Target Dollar Spot ornament, Dimensional Adhesive, ribbon (May Arts), water droplets (Pretty Pink Posh), flowers (Petaloo - retired), Oxide Ink (Distress - Ranger), dies (Lawn Fawn)
 
Pin It

Monday, June 4, 2018

PGCB: Challenge #153 - Woodland Creatures

I started by using my Distress Inks and a pair of Neat and Tangled stencils. I then added a cute set of woodland creatures from the Into the Woods Lawn Fawn stamps, colored with Dual Brush Pens by Tombow. The sentiments were from the set, and were perfect for a hello card.
Pin It

Monday, July 17, 2017

Paper Girls Challenge Blog: Welcome to the World Card

I haven't blogged since September 2016. And not regularly since September 2015. Blogging started feeling unnatural, extra, too much. It did not really bring me JOY. And since JOY was my 2016 One Little Word... I ceased blogging, and spent more time creating. Funny how when I stopped blogging, I actually made more stuff (this is where the IG feed comes into play).

There are MANY reasons that I quit, and I won't go into all of them... But I'm ready to start sharing again. And not just on my Instagram feed either (although I totally would love for you to follow me there as well!).

So, when my lovely friend Erica asked me to create a few things for the Paper Girls Challenge Blog, I said "Of course!!!". And it felt right to even plan out this post (although admitting that you weren't good about something for 1.5 years is hard!!).
I love this card. And I love even more how stinking easy it really is to do this!
So, for starters... This stamp set. Concord and 9th is one of my favorite manufacturers of amazing stamps. Their sets are large (this one is 6x8"!) and have some of the best sentiments. This stamp is from the Globe Greetings stamp and die set. Seriously. I made a ton of graduation cards (21..!) using this set and the dies, and they were perfect.
The space background was made with a mixture of various Distress Ink minis that I had. I used Mustard Seed, Picked Raspberry, Seedless Preserves, and Blueprint Sketch. Once the color was laid down in various patchy areas, I went over most of it in Black Soot. Do a few layers of dropping water and patting dry, and now the space scene is set. 
The last touches are created from flicking white paint with a stiff brush onto the image. Then I added a few extra stars with a white gel pen. The sentiment is embossed with a mix of gold and black powders, and the stamps are just stamped on... I did add some polar ice caps with the same white paint as the stars! 

I hope you had fun as I shared this card with you! I really adore it.

Supplies Used;
Concord and 9th (Globe Greetings stamp and die set), Distress Ink (Mustard Seed, Picked Raspberry, Seedless Preserves, Blueprint Sketch, Black Soot), white acrylic paint, various inks, watercolor paper, black cardstock, embossing powders Pin It

Tuesday, September 6, 2016

It's a Fabulous Start to the School Year!

As a teacher, I love a nice desk set just like anyone else. Over summer, I decided to pull this cute little set together using the Fabulous Collection.
I started with a Moleskine book. My favorites are the graph paper Cahier Journals. They make just the perfect, small notebook that I can use for meeting notes. They are also really easy to decorate. In this case, I used my Xyron Creative Station to add adhesive to the Fabulous Six 12x12 paper, then used a craft knife to cut around the cover. Liquid glue would also work well.

I added some interest with some die cut pieces from the 12x12 papers, an Authentic Life Card and some of the stickers from the collection. Each of the edges were inked with Distress Ink to create some interest. To keep the journal closed, I added a cute binder clip.
I couldn't resist adding a few pencils into the mix and created this sweet little pencil holder. I just folded the Fabulous Five paper so that the back was slightly longer than the pencils, leaving the front slightly wider than the back. Then I folded over the flaps and glued them in the back.
To finish off the pencil holder, I added a sweet polka dot heart and a matching polka dot bow.
The last little piece to the set is a bright, buttoned tag. I couldn't resist layering the Details cardstock stickers to a punched tag. Then added the ribbon, and sewed on the button to keep it in place.
I hope that this inspires you to break out your collections for more than just cards and layouts.

Supplies Used:
Authentique Fabulous Collection: Two, Five, Six, Eight, Twelve, Authentic Life Cards, Details stickers, alpha stickers (older collection)
Other Supplies: Moleskine Cahier, ribbons (May Arts), button, kraft paper, binder clip & pencils (Target), Distress Ink (Antique Linen)
Pin It

Wednesday, July 1, 2015

You Color My World (with Distress Inks & Lawn Fawn)

So... Paper Issues was having this fun little contest that asked for participants to create something based on this fun and summery mood board:
If you've read my blog recently, I just had purchased a handful of things from PI that all fit this fun and rainbowy theme and created a fun Shop Your Stash kit. I grabbed the fun Lawn Fawn stamp that I grabbed from the store, my fun Distress Minis and the Tim Holtz Lace Stencil that I bought locally.
I placed the stencil onto some white paper, then just mixed the various colors to create the fun rainbow effect. That with the lovely stamp sentiment... Just love!

Update!! My card was on the Paper Issues Blog today!! EEK! Pin It

Saturday, November 15, 2014

#NBCT Bound (AND I PASSED!!)

I've had this layout completed for the longest time. And just like the National Board for Teaching process, it sat. Waiting to be scored. Ready to be complete. Seriously, the endless hours, the countless moments poring over the same video, are all worth it once you see the words "Congratulations! You are a National Board Certified Teacher!"

I'm still reeling on this one.
Products: American Crafts (paper & alpha), Sassafras Lass (papers, flowers, alphas), Neat & Tangled (sequins), Tim Holtz Distress paint, ink Pin It

Tuesday, August 19, 2014

Popping Up to Say "Get Well Soon!

I just love when an idea actually happens the way that I thought it would. I love this Lawn Fawn set (Love 'N Breakfast). It's one of my firsts... I kind of found it behind a few things, under some more in a local store. I haven't really used it to it's full potential though, probably because it's intend is more "love" based. I do love trying to find new ways to use it.
I started by making my card base. I folded an A2 card (Via Vellum-kraft), then placed the fold right inside of the cut line of my largest Lawn Fawn Lawn Cut Stitched Party Banner. Once that was complete, I stamped my images (Love 'N Breakfast) onto some Neenah Solar White paper, then colored them in with Spectrum Noir pens. I used sentiments from both the Love 'N Breakfast and the Get Well Soon sets. Once it was complete, it was a little too white, so I used some Distress Ink (Frayed Burlap) on the white banner. Then I needed some contrast between the two kraft colors, so cut and attached some white, striped paper behind and glued it all down. Last, I added two enamel dots in the holes that didn't cut all the way on the top of the banner.

Supplies: Lawn Fawn (Love 'N Breakfast, Get Well Soon, Stitched Party Banners), ImagineCrafts (Tuxedo Black Ink), Distress Ink (Frayed Burlap), Neenah Cover (Solar White), Mohawk (Via Vellum-kraft), enamel dots, Spectrum Noir pens, patterned paper Pin It

Friday, December 13, 2013

Lawnscaping Winter Blog Hop!!!!!

Welcome to the Lawnscaping Winter Blog Hop!! I was SO excited to be ready and willing to share my love for Lawnscaping Challenges with you this morning. Some of you may know, that Lawn Fawn has become a new addiction to me. So have the Lawnscaping Challenges! Too often I don't get mine photographed in time, or life gets in the way to finish a thought, but this one I have been planning for a few weeks now and am SO excited to finally share it with you!
 
You should be coming here from Lenny. Her coloring is crazy-amazing!! I am super excited to see what she created this morning!! If you are just starting here, make sure that you head to the Lawnscaping Challenges Blog as there are a TON of prizes and sponsor information over there.  
Here is my project for the hop! I'm super excited about it. I chose to use two of my favorite stamp sets: Gnome Sweet Gnome and Into the Woods. I still cannot get over how cute that fox is, and had to "winterize" him for this card. I also had a blast playing with some of the Into the Woods papers and the Peace Joy Love Mixed Sequins.  
To start this card, I used a Silhouette cut that I altered to better suit what I was going to do with it. I cut off the side with the snowman. Then, I cut the front from Neenah Solar White paper, and the snowglobe itself from a sheet of Into the Woods paper. LOVE the woodgrain! The globe is actually packaging from a set of diecuts! Each of the sequins are stuck to the acetate using Xyron's 3/8" Adhesive Dots. They are perfect for sequins!! I also used my Xyron 9" Creative Station on both the snowglobe and the white and colored sections of the card. It made it SO much easier to piece all of the sections together. 
The background is a mix of Distress Inks in Tumbled Glass and Broken China, with a bit of Colorbox in Midnight. The snowbanks were cut using Kiwi Lane Templates in Paisley Place and a little bit of the Distress Ink makes them pop. The gnome, now Santa! and fox are both colored using Spectrum Noir markers. Although I did add a little bit of colored pencil on his face. The key was also colored using the markers.
I am SO glad that you were able to visit and hop along today!! Head on over to see the work by the amazing Christine Drogt now!!!

  
Supplies Used:
Lawn Fawn (Into the Woods stamps and paper, Gnome Sweet Gnome stamps, Peace Joy Love Mixed Sequins), Distress Inks (Broken China, Tumbled Glass), Spectrum Noir markers, Xyron Adhesive Dots, Xyron 9" Creative Station, Neenah coverstock (Solar White), Memento Ink (Tuxedo Black), American Crafts (dark kraft paper), Silhouette Cameo and Online Store, acetate Pin It

Tuesday, October 29, 2013

Blog Swap Week with Xyron + Maya Road!!

http://aintshecrafty.blogspot.com/2013/10/xyron-and-maya-road-day-two-and-giveaway.html
Good Morning Xyron and Maya Road fans!! Heather here with two wonderful projects for you.I am also being featured on the Xyron Blog today. Make sure you check out each day this week for fun and prizes!!

The first project that I created, was a sweet little ornament using one of the Maya Road Vintage Metal Heart Tins.
I started by tracing the Maya Road Vintage Metal Heart Tin onto my paper. To make sure that the heart fit, I had to cut down the heart just a little bit smaller than the area that was fluted. The Joyous Collection by Authentique was the perfect version of Christmas for this ornament.
I then used my Xyron 3" Sticker Maker to adhere the heart to the tin. The 3" Sticker Maker is just the perfect size for this!
I waited to create a hole for the cording until I glued in the heart down. This way, I didn't have to match anything up. Because of the metal, I used my Crop-o-Dile for this.
I then created some interest with a few stickers and some Xyron Foam Squares. It was then that I decided to ink the edges of everything. I had inked the stickers, but had to use an ImagineCrafts Fantastix ink applicator to smudge some ink onto the red heart.
I then added one of the Statements die cut pieces, using more of the Foam Squares to add dimension.
Lastly, I used the gorgeous Maya Road Twine Cording in Cherry Red to create a hanger for the ornament, and create a gorgeous bow for the top. The Maya Road Cording makes gorgeous bows.
I cannot wait to display this on my Christmas tree!!
For my second project, I started with the Maya Road 5 Ring Tab Book and more of the Joyous Collection. Each of the pages has been run through my Xyron 9" Creative Station. I then applied the patterned paper, then cut with a kraft knife, and filed off the edges using a nail file for acrylic nails (they last longer and are usually cheaper). The cover is finished with a Maya Road Photo Frame that has been run through the Xyron 3" Sticker Maker. The middle of the Photo Frame was sprayed with gold mist before adding some die cuts.
All of the pages are simple, as they will have photographs added later. Because of the amazing amount of pages in the Mini Book, I wanted to keep the dimension simple. Otherwise, I ran the risk of not being able to close it.

I cut each of the photo mats down to 3.5" x 5.5". This way, I can just slightly cut down standard sized photographs and easily use my Xyron Mega Runner to post in some sweet Christmas memories.
 I love how clean and graphic this ended up.

Supplies Used:
Xyron: 9" Creative Station, 3" Sticker Maker, Mega Runner, Foam Squares
Maya Road: Vintage Metal Heart Tart Tins, 5 Ring Tab Book, Twine Cording (Cherry Red), Photo Frames Chipboard Set

Other Supplies: Authentique's Joyous Collection, Distress Ink (Black Soot), ImagineCrafts Fantastix, Heidi Swapp Gold Lame Color Shine Pin It

Monday, October 14, 2013

Stenciled Pillow Boxes using Xyron and Stencil Girl Products

Good Morning! I created this fun Thanksgiving pillow box using Xyron and Stencil Girl Products.

I started with a white sheet of Neenah paper, and covered it with Distress Ink in Frayed Burlap. I just pounced and swirled the ink over the paper so that it was mottled with color.
I then grabbed the "Flicks" Stencil Girl stencil and pounced Vintage Stain Distress Ink over and over again, covering the paper with random stencil prints.
There is no pattern to this, so that the pattern is completely random.
I did the same again in Tumbled Glass...
And in Broken China.
Once I had my new "patterned paper", I used one of my pillow box cuts from my Silhouette, and created a cute pillow box
Once it was glued shut, I measured and cut a piece of Core'dinations Kraft-Core cardstock and adhered it to the pillow box (while closed) using my Xyron 9" Creative Station.
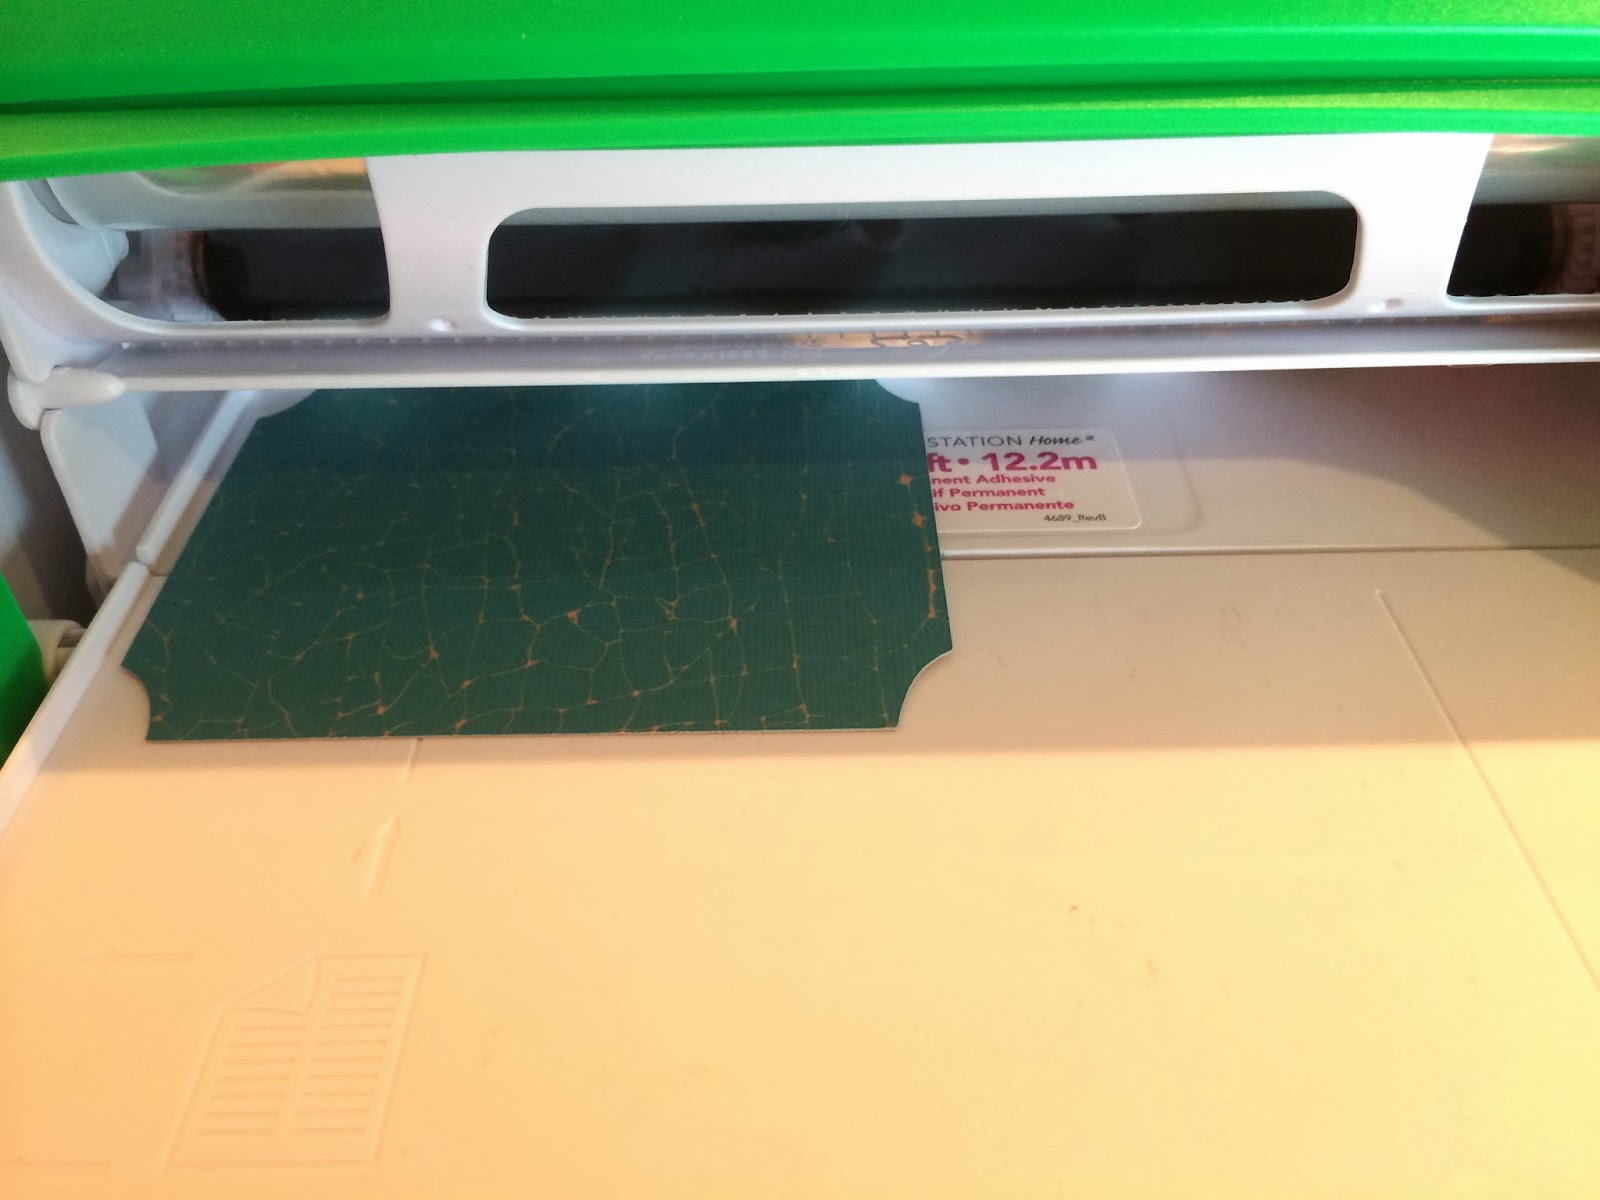
I then cut a leaf using more of the Core'dinations Kraft-Core cardstock paper. I ran this and my stencil (the sandwich is upside down here...) through my Xyron 9" Creative Station.
See... Here it is the right way. This kind of worked. The adhesive stuck to the stencil, but not the leaf on top of it. To make it work the first time, I suggest burnishing the adhesive through each section of the stencil. I ended up turning the stencil over, and just pressing the holes of the stencil onto the leaf.
It's not perfect, but I almost like this look even better than what I had originally thought it would look like. I then sprinkled gold embossing powder on this and used my heat gun to set it.
Because I used adhesive and not an embossing ink, the powder stayed more solid, but is permanently stuck to the paper. (FYI: Goo Gone took most of the adhesive off of the stencil, without melting the plastic!)
I then used a combination of sequins, May Arts twine, button and a stamped flag to finish off the piece. The Xyron Adhesive Solutions 3/16" Dots are perfect for sticking down the sequins.
I'm kind of ink love with the finished version. The Stencil Girl stencil made such a unique design.


Supplies:
Xyron 9" Creative Station, Xyron Mega Runner, Xyron Adhesive Solutions 3/16" Dots, "Flicks" Stencil Girl stencil, Core'dinations Tim Holtz Kraft-Core Shattered 6x6, Distress Inks (Frayed Burlap, Vintage Photo, Broken China, Tumbled Glass), Lawn Fawn sequins, May Arts ribbon, My Mind's Eye button, A-Muse stamp, kraft paper, ink, American Crafts Zing embossing powder, Neenah cardstock in Solar White, Silhouette Pin It