Showing posts with label cardstock. Show all posts

Monday, May 20, 2019

PAPER GIRLS CHALLENGE BLOG #176: Your Favorite Drink

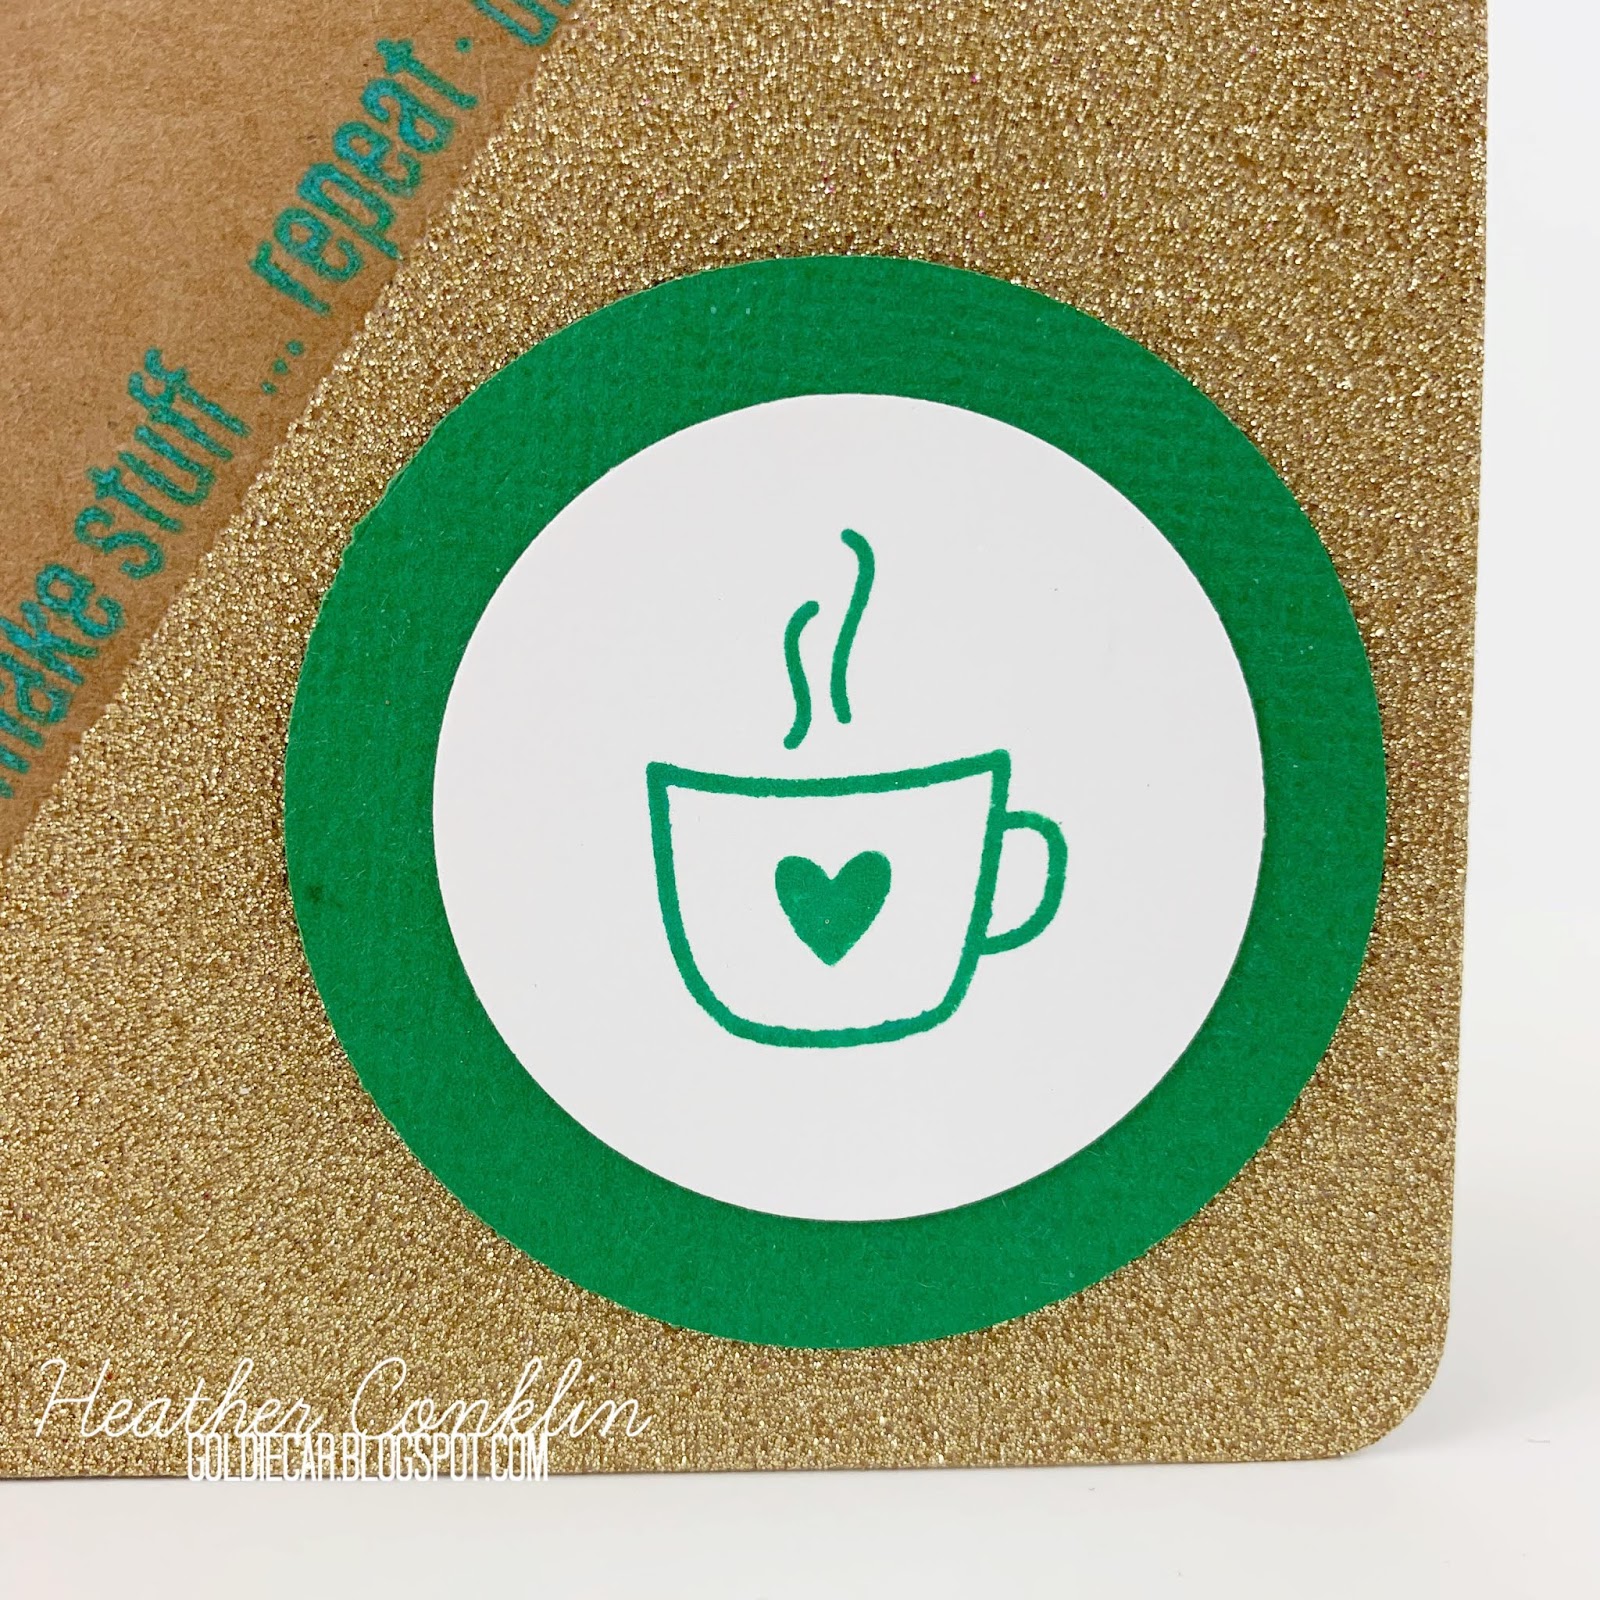
Good Morning from the Paper Girls Challenge!! It's May, and for most of us in the US, there are still a few weeks left of school. As a teacher, I am running on coffee. This challenge is PERFECT to share my love of everything java. For this challenge, create something that celebrates your love of beverages! It could be coffee, tea, orange juice, wine, you name it! Create a card, layout, or like my mini notebook below, something off the page.
Mini notebook (Heidi Swapp) with a few older stamps (Gossamer Blue - retired).
 A simple stamped cup (Concord & 9th), watercolored in two different color combinations.

We want to encourage all of our challenge participants to refer our rules and prize structure here: http://thepapergirlschallenge.blogspot.com/p/how-to-play.html
Also, follow us on our new Instagram account for more chances to win! For this challenge use #PGCBchallenge176 and tag us @papergirlschallengeblog for an extra entry.
Pin It

Monday, April 15, 2019

PAPER GIRLS CHALLENGE BLOG: Challenge #174 - Spring Color Inspiration

Today's Paper Girls Challenge is all about Spring! I chose to use the color palette to create a color block card using a die that I got awhile ago.
I die cut the heart multiple times, then paper pieced the pieces together in a spectrum order.

After that was complete, I used some matching paper for the background, embossing it with a WRMK Next Level Embossing Folder. This one was from a few years ago.
Popped the heart up on some dimensional adhesive, added a sentiment from an old A.muse stamp set, wound up some Hand and Hearth twine, and done. The little banner was just trimmed on the ends for detail.
Come play with all of us at the Paper Girls Challenge Blog!

Pin It

Monday, September 4, 2017

Paper Girls Challenge Blog: Labor Day

Happy Labor Day everyone! Since I'm a teacher, Labor Day has a special significance in my career. It signifies that the school year has started, and summer is now over. In my little house, we have a new school-ager, and we once again have our favorite kindergarten teacher. This card is for her.
I used a fantastic little owl card by Jennifer Rush. I really loved how cute she was. And the apple!!!! I used a combination of scraps from my scrap bin, and a few bits and pieces of the Bountiful Collection from Authentique. I know that there are little bits of pieces from Elle's Studio and Studio Calico, but I've no idea what line anymore. The stamp is also from Studio Calico.

Make sure that you check out the Paper Girls Challenge Blog and participate in your own version of our Labor Day Challenge! Pin It

Monday, June 29, 2015

Totally Tulip!! (ScrapbookSteals Mid-Week Mojo)

I finally finished a Mid-Week Mojo Series! Tulip to be exact! I have kept the layouts that I've already shared small, and enlarged the ones that I haven't shared at some point. Each is in order, with the sketch link below. I had quite a few that I had created throughout the ten weeks and just hadn't shared, one or two that I think I lost somewhere in my house (or I'm going crazy and imagined creating them!?!?!), and a few that I knocked out during a marathon create-session with the kiddos in my studio. However they happened (or got lost...) I finished! I'm TOTALLY TULIP!


Tulip #4 Sketch - Uses a modpodge of Crate Paper, Pebbles, Authentique, My Mind's Eye, Webster's Pages and some other random stuff...

Tulip #5 Sketch - Uses Sassafras Lass Nerdy Bird


 Tulip #8 Sketch - Uses Echo Park Sweet Girl


Pin It

Wednesday, June 24, 2015

Shop Your Stash (kind of...) June 2015 Edition

This Shop Your Stash was mainly inspired by a little online shopping spree at Paper Issues. I was having a gloomy day... Partially caused by the end of the school year blues (i.e. grades, grading, kids not quite ready for summer) and the rest caused by some family health stuff. The rainbow items were probably my subconscious trying to brighten my mood. I added to the patterned paper, enamel dots, Thickers, sequins and doilies with a bunch of stuff from my stash. I tried to choose some bright colors that would look great with black & white pictures.
I even snuck in a stamp in this kit!

Paper Top Row L-R:
Lemon & Ginger (True Stories) – Shimelle for American Crafts
Weekend Wonders (365) – Chickaniddy Crafts
Swim Lessons (Poolside) – Crate Paper
Pink Dot Kraft (Baxter) – Studio Calico
You're Invited (Birthday Wishes Eat Cake Celebrate) – Pebbles

Paper Bottom Row L-R:
Green Tea (True Stories) – Shimelle for American Crafts
Pool Time (Poolside) – Crate Paper
Mocha (True Stories) – Shimelle for American Crafts
Citrus (Citrus Bliss) – Pink Paislee

Partial Pieces
cardstock from Core'dinations
various Crate Paper pieces

Cardstock
white –
American Crafts
leaf green - American Crafts
dark aqua - American Crafts
navy- American Crafts

Embellishments:
Rainbow Prismatic Thickers (Fun in the Sun) - Pebbles
Mini Paper Doilies 48 piece Sampler Pack - Doodlebug
Enamel Dots (Fun in the Sun) - Pebbles
Surprise Me Sequins Pack - Paper Issues
Color My World Clear Stamps - Lawn Fawn
Tidbits (Woodland Park) - October Afternoon
Stickers - Freckled Fawn
Resin Bobby Pins (Flea Market) - Crate Paper
Tiny Tags (Penelope) - Elle's Studio
Buttons - American Crafts Pin It

Monday, June 22, 2015

Finally Back to Creating... (MWM Tulip #9)

I lost my mojo for awhile. I kept on creating. Kind of. But there have been a couple of things that have gotten in the way of being able to spend time in my studio. I think my family and I have found a new groove, and we are on the path of getting there. So, here is my ScrapbookSteals.com's Mid-Week Mojo Tulip #9 sketch layout.
I used a bunch of stuff that I got earlier last week or so from Paper Issues. Kind of love them when I'm in a "don't want things to be from the same kit" kinda mood. I'll blog later this week (I promise!) about the kit that I created from the PI Store and a couple of things from my stash. It was a total rainbow theme.
http://scrapbook.steals.com/wp/2015/06/17/simple-stories-smarty-pants-mid-week-mojo-tulip-9/
If you want to play along, make sure that you check out the ScrapbookSteals MWM links!! Pin It

Tuesday, February 17, 2015

It Hurts... Photographing and Scrapbooking Unhappy Events

How do you photograph a situation that you really don't want to? Photograph a beautiful detail. One small, probably insignificant element that can sum up the entire story without oversharing. I really feel that this photo, with the journaling does just that. Papers and elements are from my October Shop Your Stash kit.
I altered the PageMaps November 2014 sketch HERE and changed up a few things. I really wanted to focus on the one photograph, print the journaling with my Silhouette, and then really play with a few Silhouette cuts.
http://pagemaps.com/images/2014/nov14pagemaps.htm
Pin It

Monday, October 6, 2014

October's Shop Your Stash Kit...

So, as you may have noticed, I've renamed the kits that I make as Shop Your Stash Kits. There's a few reasons, and if you're a reader of my blog, you've noticed that I've been wrestling with what to call these creations. The short version is, I didn't want to use a name that I was not 100% comfortable with. There are ton of challenge blogs that all create themed kits, based on other companies' kits. I've done them, it's totally fun. But I don't want to imitate the amazing kits that others make, I just want to use up what I have. No challenges, no prizes, (unless you count all of the projects you make!) and no pressure. If you want more information on my process and what exactly I'm doing, I've made a PAGE to better explain how I go about Shopping My Stash!

Now for the pictures, and October's Shop Your Stash Kit!! Reality moment: this kit has been made for almost a month. Seriously... I'm in love with this kit, and the mood board that inspired it. I have SO many plans... But they have to start somewhere, and this is the lovely inspiration picture that started it all:
http://blog.kidsclothesweek.com/2013/10/inspiration-fall-mood-board-fabric-picks/
OMGoodness!! Isn't it just divine! So gorgeous, so Halloweeny without being all cheesy... I was just in love. Vanessa over at lbg studio created this amazing "Mood Board" and I swear, it spoke to me. I loved all of it from the apples (you'll see them!), to the pumpkins, feathers, woodgrain, stars, hot cocoa (which I'm totally translating into coffee...) and the patchwork. And those pocket scrapbook cards... that I may have just purchased because of this board. Look forward to a month of Halloween, Autumn and fun family pics!
Paper Top Row L-R:
Dancette (Spirited) - Authentique
You & Me (Stella & Rose) - My Mind's Eye
Remember (Lime Twist) - My Mind's Eye
Summer Dress (Indian Summer) - WeRMK
Polka Polka (Count Me In) - Sassafras Lass
Teal Large Dot (Dots & Stripes) - Echo Park
Juniper (Into the Woods) - Lawn Fawn
Clove (Nutmeg) - Cosmo Cricket
Tube Socks (Boyfriend) - Cosmo Cricket

Paper Bottom Row L-R:
Hoot of Owl (Witch Hazel) - October Afternoon
Picnic (Kraft Funday) - My Mind's Eye
Stripe (Uncharted Waters) - Glitz
Victorian (Random Collection) - Crate Paper
Big Sky (Open Road) - Crate Paper
Fun & Games (Kraft Funday) - My Mind's Eye
Grove (Countryside) - Studio Calico
Acorn (Nutmeg) - Cosmo Cricket
Fitting In (Boyfriend) - Cosmo Cricket

Shaped Paper
Smile (Lime Twist) - My Mind's Eye

Cardstock
black - American Crafts
Eggshell (Simply Spring) - WeRMK
reddish - American Crafts
light orange - American Crafts  

Embellishments:
Sculpture Flowers - Prima
Layered Stickers (Lost & Found 2) - My Mind's Eye
Circle Garland (Kraft Funday) - My Mind's Eye
Fla!r (Spooky) - American Crafts
Orange Chevron Washi (Amy Tangerine) - American Crafts
Chipboard Alpha - Sassafras Lass
Delights (Spice) - American Crafts
Dimensional Stickers - American Crafts
Word Stickers (Witch Hazel) - October Afternoon
Bingo Card - Pretty Little Studio
Various Die Cut Cards - Elle's Studio & October Afternoon
Mini Market Alpha (Pumpkin) - October Afternoon
Stickers (Hattie) - My Mind's Eye
Tickets (Kraft Funday) - My Mind's Eye
Twine (Kraft Funday) - My Mind's Eye
Kraft Borders - Anna Griffin
Happy Harvest Printable - Life Love Paper
FREE!! Back to School Printable - OneHappyMama.com Pin It

Thursday, July 10, 2014

Colorblock Thanks Card

Sometimes inspiration comes from many places. In the case of today's card, it came from a colorblock tank that I spotted in Target. I'd put a link, but I cannot find it online. Maybe I'll have to snag it soon... Anyway, this card was so easy, that I made four more!!
I started with a kraft base for the card, then layered blue and cream cardstocks. The "Thanks" sentiment is a fun Lawn Fawn die cut (Scripty Thanks) that I picked up at my local Artco Arts and Crafts store. I originally had them in the same kraft as the card base, but it needed something, so I used some of my ColorBox ink in Atlantic Blue to make them stand out from the cream cardstock. Lastly, I threw on some Studio Calico (Atlantic) sequins, because everything looks better with sequins. Pin It

Tuesday, August 13, 2013

Lots and Lots of Cards!!!

During the summer, I build up both my personal card stash, and the stash that I use for the Social Committee at school. For my personal stash, I tend to make more celebratory cards: birthdays, well wishes, miss you, etc. For school, I end up needing more sympathy and get well cards than anything else. Every once in awhile, I get to make a great wedding or baby card!

For the first two, I create a pair of cards using the same idea. I had just purchased a Fiskars hexagon punch (on 40% off with 25% off on top of that... SCORE!) and really wanted to use it. So, I pulled out my lovely Xyron 1½" Create-A-Sticker Machine and got to work. The lovely little hexies were super easy to stick on, and so were the banners. Add a little AC button (clearance at Target... SCORE again!) and Delicata (ImagineCrafts) inked A-Muse sentiment and they are perfect to send to someone in need.
For the next three, I used a Counterfeit Kit that I made up a LOT of months ago. I think there is some Prima paper, some cardstock in different colors, AC ribbon, and some MyMindsEye chipboard elements. I even found a cute Prima resin flower (I totally forgot I had those things!) to add to one of the cards.
I'm a card making machine! Or at least, I really need to be. Making them in an assembly line is super quick. I'll have more sets tomorrow! Pin It

Tuesday, June 25, 2013

Better Late Than Never... ScrapbookSteals.com Peridot #5

Better late than never... Right?? This is actually my layout from ScrapbookSteals.com's MWM Peridot 5. It has been siting in my craft room for a few weeks now, waiting to be photographed. For this layout, I used my Gossamer Blue May 2013 kit. I just loved all of the bright colors that were in this kit. And those anchors... Adorbs! I also used one of my Silhouette cuts on this one. I just had to. The clouds that were from the Life card set. I just used the clouds all over the rest of the layout. I also added some sequins from my local craft store. I couldn't resist.
And just in case you were wondering... Yes, my daughter drew on my layout. It was funny, and I just had to leave it. Real life at it's finest.
If you want to play along, here is the linked sketch. I really loved how Melodee played with all of the layers. 

Supplies Used: 
Gossamer Blue May 2013 kit, sequins, Silhouette Cameo, white cardstock
Pin It

Sunday, June 23, 2013

A Daddy's Love (ScrapbookSteals' MWM Peridot 8)

I love sketches. And I love Elle's Studio. Combining the two was pretty fun. I even broke out part of my Gossamer Blue March kit and one of my sacred (okay... I'm trying to use my Sass stash more!) Sassafras Lass Starters papers as my background paper. There's even a tiny bit of plain paper in there. And slightly hidden journaling behind the Elle's vellum heart paper from the May 2013 kit.

If you would like to play along (and I suggest that you do!!) Here is the linked sketch.

Supplies Used: 
Elle's Studio: Day To Day Paper, Good Morning, Lil' Snippets (Day to Day & Days of the Week), Serendipity Tiny Tags, You and Me Note Tags, June 2013 & May 2013 kits.


Other Supplies: MME enamel dots, Sassafras Lass Starters, Studio Calico heart, Heidi Swapp Gold Color Shine, AC cardstock, MME patterned paper, LillyBee alphabet stickers Pin It

Wednesday, March 27, 2013

For a Lovely Friend

I created today. Which is big, because we've been complete sickies in our house. Finally, I and the little Miss are okay. The Big Miss was still out today. Although she's started arguing with me today, which I'm going to take as a good sign that she's feeling better.
Here is the lovely little card that I made for my lovely friend Melissa. It's her birthday today, and I know that she'd LOVE some well wishes!! I used the August Gossamer Blue kit that I won last year, some October Afternoon Sprinklers in Hopscotch and a Stella & Rose sticker. I just love those kits, especially when I get to the ends and get to start using them as card kits.

PS. Melissa... This is going to be a little late :) Pin It

Monday, February 25, 2013

Cute January GB Card

I love when my kits get down to just enough paper and embellishments to create cards. Because all of the elements already go together and match so well, it's easy just to take pieces and create great little cards to send away. This sweet little card is for a scrappy friend who just had a little baby. And not to leave out the new Big Sister, I created a little badge for her using my Cameo. Cuteness!


Pin It

Friday, February 15, 2013

February's Pinspired with Gossamer Blue Challenge

I often stumble through Pinterest pinning random things to all of my boards. However, it's not often that I actually go through and create something based on anything I pin. Which is kind of unfortunate, because I do pin cute stuff all of the time. I'm trying to get better about it, and actually create things. When Gossamer Blue started their new "Pinspired with Gossamer Blue Challenge", I was completely tempted to join in. I also needed a couple of cards, so it was a perfect excuse to play along. HERE is my inspiration pin, and it's from the Glitz Design Team located HERE. I couldn't find the original post, sorry...
This lovely little pretty was created for my mom. She needed a little bit of cheering up, and it's perfect for her. Bright, cheery, and has green. I also used some more of the bits and pieces of my January Gossamer Blue kit.

This next card uses Authentique's Lovely Collection. I have used almost every scrap of this collection. It's just that perfect. Seriously. If you haven't snagged it all up before it goes away, make sure that you do! It's just beautiful.
I think one day I might just have to make a tutorial on how to get that ribbon... I'm not sure how the original cardmaker did it, but I sure have a fun trick!
Pin It

Friday, November 16, 2012

Handmade Holidays Blog Hop 2012

Welcome to the 2nd Annual Handmade Holidays Blog Hop!!!
Calling all crafters! We’ve gathered designers from some of our favorite manufacturers to show you ways to create something from the heart this holiday season. This 3 day Hop includes over 60 stops with inspiration brimming from every corner. Explore all of the thoughtful and frugal handmade gifts you could create for the holidays, all in one place, during our second annual Handmade Holidays Blog Hop!

If you are following along the 2012 Handmade Holiday Hop, you should have come from Jennifer Priest. If you want to start from the beginning, begin at Clearsnap
The Details:
To sweeten the Hop, we’re offering a gift for you! For every comment you leave on the blogs in the Hop, you’ll be entered to win a prize pack from one of the participating manufacturer sponsors! Authentique is giving away four 6x6 pads of their latest collections: Festive, Peaceful, Original and Lovely!
Visit the list of blogs below and leave a comment on each by Nov 27, 2011 at 11:59 PM PST. Each day we will be sharing a brand new list of blogs with brand new projects for you to explore, be inspired by, and create from!

The Blog List:
Donna Salazar Designs – http://donnasalazar.typepad.com
Eileen Hull for Sizzix - http://eileenhull.blogspot.com/
Kristin Wilson – Graphic 45 - http://www.kristinwilsonhandmade.com
Jennie Garcia - Tombow - http://earthyscrap.blogspot.com
Gini Williams Cagle - Hampton Art - http://ginicagle.blogspot.com
Sabrina Alery – Clearsnap – http://Sabrinaalery.blogspot.com
DeeDee Catron - Globecraft Memories - http://umwowstudio.blogspot.com
Michelle Grant – Donna Salazar Designs - http://michellejbg.blogspot.com
Emily Lanham – Authentique Paper - http://www.createserendipity.net
Emma Jeffery – Fiskateers - http://hellobeautifulblog.blogspot.com
Natalie Clause – The Twinery - http://www.southernbellescharm.com
Alberto L Juarez – Graphic 45 http://vintageodyssey.blogspot.com
Jennifer Priest – Clearsnap – http://hydrangeahippo.blogspot.com
You are HERE ---->Heather Conklin – Authentique Paper - http://goldiecar.blogspot.com

The Project:

For this year's Handmade Holidays Blog Hop, I made a "Year in Authentique". Every year I make scrapbook calendars for my mother, mother-in-law and both grandmas. I normally make them out of whatever random papers I have in my stash. This year I decided to make an Authentique specific calendar using a different line for each month. For each of the twelve months, I chose a collection that would make sense for the entire month. I loved revisiting older lines and playing with them again, as well as breaking into the newest line (Lovely) for the first time.
Here is each month in chronological order. After the calendar, I will give you some tips and tricks on making your own calendar, as well as show you my process.
January- "Peaceful"
February- "Lovely"
March- "Carefee"
April- "Delightful"
May- "Splendid"
 
June- "Celebrate"
July- "Glory"
August- "Lively"
September- "Curiosity"
October- "Gathering"
November- "Thankful"
December- "Festive

While it looks daunting, 12 layouts is actually quite easy when you use a collection of papers as nice as those from Authentique. Everything coordinates, so putting each layout together is a breeze. There are a few things that I have realized from my many incarnations of calendar making (I think this is year 4 or 5).

1. Use sketches. Find a good sketch artist and modify their sketches to suit what you may use for pictures. For each of these, I used sketches from ScrapbookSteal's Mid-Week Mojo's, all created by Kristy Lee, the former Mojo Mama. She's pretty fantastic.
2. Don't have photos in mind. It's backwards, I know. But if you are making mulitiple calendars, it just goes quicker. 
3. Make mats for each photo. Since I didn't put photos onto each layout yet, the photo mats create a sense of where photos will go, and will display them nicely.
4. Create interest with die-cuts. I love my Silhouette and used it extensively throughout the process. But paper punches such as those from Fiskars will work just as well! (Or better yet, cardstock stickers like those from Authentique!) Shaped paper also works well in this case.

5. Minimize dimension. Thicker layouts are great, but when there are twelve of them, and you have to write on the backs, it just doesn't work. I did use some dimensional adhesive in places, but used it sparingly. 
6. Add flat interest with inking (I used Imagine Crafts' Memento inks, Distress Ink and Clearsnap's Colorbox Chalk Inks throughout this project), pens (Signo white gel) and fabric tape or washi (Love My Tapes).
7. Get a pre-made calendar base, or create your own using quality cardstock. I used the Kraft Core Nostalgic collection by Core'dinations. This way, I was able to use a color for the month page, and the kraft backing to write on. I chose all of my colors to match collections, and then ordered them by month.
8. If you want to bind your work, you don't have to have a binding system. I make a ton of mini albums, so having a Bind-it-All makes sense for me. If you don't want to invest in a binding system, take your cardstock to a store like Office Depot. For just a few dollars, they can bind your project for you. I suggest doing this BEFORE you create your pages so that the cardstock will lie flat.
9. Use the manufacturer's information part of the cardstock to bind. When you want to put your layouts into your scrapbook, you won't have holes in the layout. Make sure that the paper isn't perforated though. That never goes well.  
   
I hope that this inspires you to make your own presents this year. Especially those that will last all year. Cheers to creating gifts from the heart this holiday season! Since you are at the last stop on the Handmade Holidays Blog Hop, I will wish you a happy season. Make sure that you check out Clearsnap's blog tomorrow for more fun!

Happy Hopping!
Pin It